In the following procedure, you prepare the MotionBuilder scene and open the files needed to start this tutorial.
 New.
Editing.
New.
Editing.
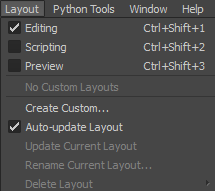
Layout options
The Editing layout displays all the user interface you need to complete this tutorial.
The contents of the Tutorials folder appear in the display pane, in Thumbnails display by default.

Tutorial assets displayed in thumbnails
<All Takes>.

In the Viewer window, a model named Mia – with a "Servo arm" Character extension – appears to be running.

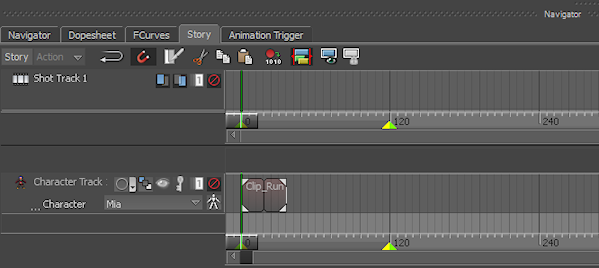
The Clip_Run_Loop is displayed in the Character Track.
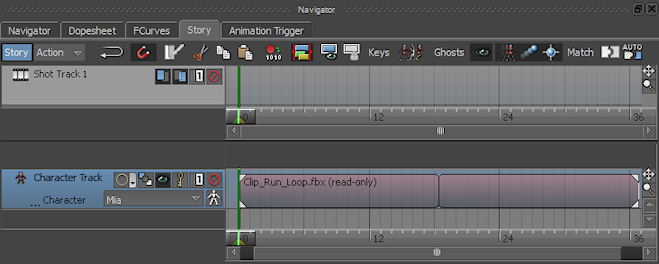
After framing the Clip_Run_Loop.fbx clip, the Character Track is highlighted in blue indicating it is selected, and the Clip_Run_Loop.fbx clip is no longer shown as being selected.

 ).
).
When the Story mode option is activated (  ), the Story window is activated and you can select either the Story Action or Story Edit mode.
When the Story mode option is activated, the animation in the Story window can override or blend with the take selected in the Transport Controls window.
In the Viewer window, a red vector is displayed on what appears to be Mia's running path.
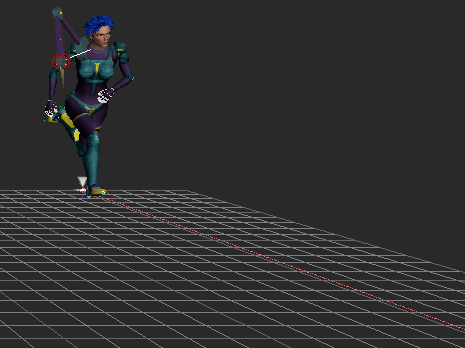
This vector is the clip's ghost vector. It is displayed because the Character Track's Ghost Visibility option (  ) in the Character Track menu is activated.

Character Track menu shows the Ghost Visibility option activated
Save As.
The Save Options dialog box appears.

Save Options
Choosing to save the file to a directory other than the default MotionBuilder Tutorials directory ensures you do not overwrite the original .fbx file.

 Except where otherwise noted, this work is licensed under a Creative Commons Attribution-NonCommercial-ShareAlike 3.0 Unported License


 ) and click Play (
  ).
).