You can add Ragdoll solving behavior to any character with a Control rig so that the character collapses in a realistic way.
To create Ragdoll collision effects on a character:
- Load a character or skeleton with a Control rig into your scene.
See Creating a Control rig.
- Make sure they are in the default T-Stance position.
(See Stance.)
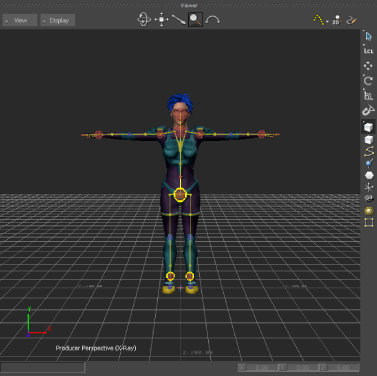
- Press Ctrl-A until you are in X-Ray mode.
- From the Asset browser Solvers folder, drag a Physics solver into the Viewer window.
- From the Asset browser Physical Properties folder, drag the Ragdoll asset onto any part of a Control rig. This connects the
ragdoll data to the Character solver.
Note The Control rig “lights up” when you are able to drop the Solver on it.
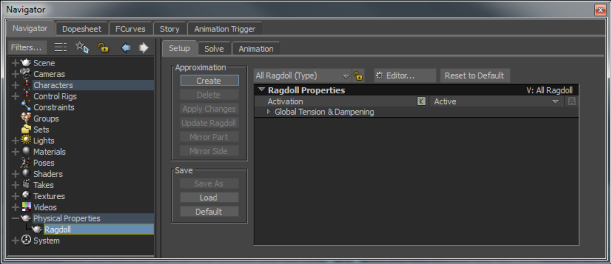
- In the Navigator window Scene browser, expand the Physical Properties folder and double-click the Ragdoll Physical property.
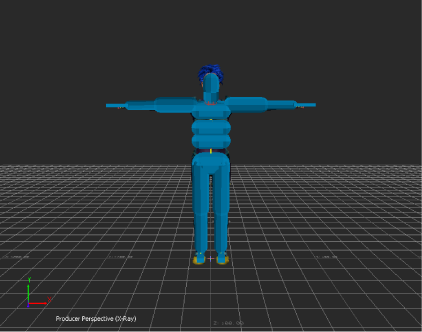
- In the Ragdoll Setup pane Approximation area, click Create. A proxy body is created on top of the Control rig.
See Creating a Ragdoll Approximation
Note To hide the proxy, switch to Models Only mode (Ctrl-A).
- Expand the Physical Properties and define specific properties for the object, as well as in the Solve, and Animation panes.
You can modify settings for individual body parts in the Properties area.
- Switch to the Navigator window Solver > Physics Solver setup pane, and click Online. Or you can also click the Active option
in the Physics Solver properties in the Properties window.
The Ragdoll solving is now active and you can test and tweak your scene. See Ragdoll settings for information on the different settings.
- To test your scene, click Live. The Ragdoll solving occurs. To reset your scene after a test, click Reset to Start.
Note When you set the Physics Solver to Live, if you select an object that has a Physical property, such as Ragdoll, Rigid Body,
or Joint attached to it, you need to deselect the object otherwise the object will ignore the Physics Solver. If the Physical
property object is selected when the Physics Solver is Live during recording, the FCurves are re-evaluated based on the Frame
Rate shown in the Transport Controls.
- When you are ready to start recording the Ragdoll action so you can convert it to keyframes, disable the Live option.
- Click Reset to Start to set the Control rig in the pre-collapse position.
- Press Record in the Transport controls.
A dialog box appears asking if you want to overwrite the take or create a take.
- Select an option.
- Press Play in the Transport controls and Stop when the animation is over.
The character collapses.
- In the Physics Properties Setup pane, deactivate Online.
- To view the recorded keyframes, select one of the animated objects. Keyframes appear in the Transport controls, and the FCurves
window.
You can also press Ctrl-Home and then Play to replay your animation.
 Except where otherwise noted, this work is licensed under a Creative Commons Attribution-NonCommercial-ShareAlike 3.0 Unported License