


The Blend and Pull controls lets you set the amount of blend between the IK and FK Control rig systems, or between your character and its motion source.
The Blend and Pull controls are contextual to whatever type of source your character uses. If your character contains an Actor or character as its source, then the Blend controls let you define the blend between the current character and its source (Actor or character).
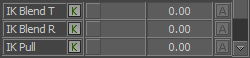
Each slider in the Blend controls let you set each blend or pull value for animation or inclusion in a Relations constraint. Each slider also lets you set keyframes for each blend or pull value.
The Animate (A) button lets you set keyframes, use Blend values in constraints, and remove animation from a Blend property. To use a Blend value in a Relations constraint, click the Animate (A) button.
To set a keyframe on a Blend value, click the Keyframe (K) button.
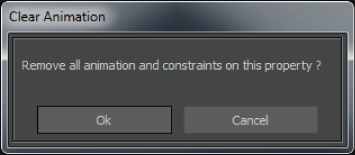
To remove animation from a Blend property, click the Animate (A) button and click Ok in the Clear Animation dialog box that appears.
The Blend T and Blend R sliders solve differences between the FK and IK rigs on a character.

When you set keyframes using the Control rig, both the IK rig and FK rig are synchronized: the IK and FK rigs appear on top of each other in the Viewer window.
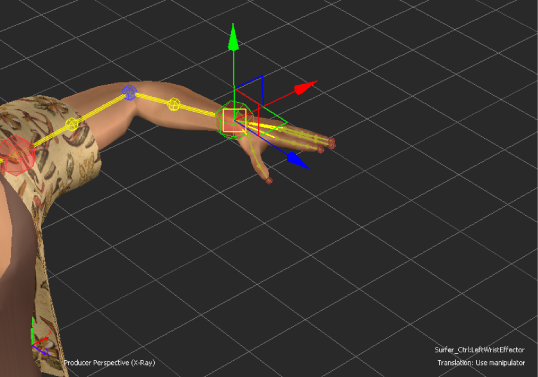
The IK rig and FK rig are synchronized at keyframes
However, when you play your animation, the interpolation of the IK rig and the interpolation of the FK rig may not match, because each rig solves differently. Between keyframes, the IK rig and FK rig may not occupy the same space.
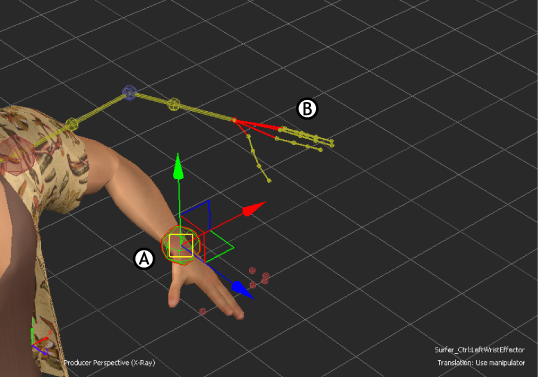
Between keyframes, the IK rig (A) and the FK rig (B) do not match since each rig uses a different method of solving.
The Blend T and Blend R sliders let you adjust the amount of influence each system (IK or FK) has on a body part when the two systems get out of sync. This gives you complete control of what happens between keyframes.
To adjust the influence each system has, select an effector in the Character representation, then adjust the percentage of translation and rotation blend between the IK and FK rigs using the Blend T and Blend R sliders.
Use the following guidelines when adjusting blend:
For example, in the picture below, a value of 30% is assigned to the Blend T (Translation blend). When the wrist effector of the character is translated, the model follows the FK rig more closely (A to B=70%, B to C= 30%).

A. Blue IK wrist effector is selected B. Character’s arm reaches towards the FK rig since the wrist effector’s IK translation blend is set to 30% C. Yellow FK rig
If the Blend T value was set to 50%, the skeleton appears between the FK and IK rigs. The solution of the IK rig and the FK rig is blended together equally to influence the body part.
The Pull slider lets you determine how much pull each effector has on other parts of the body.

To control the amount of pull, select an effector in the Character representation and drag its pull slider, or type a value in the numerical field.
Use the following guidelines when changing an effector’s pull:
The effect of each effector’s pull value is contingent on the IK Blend T value. For example, if Pull is set to 100%, but Blend T is set to 0%, the Pull value has no effect because Blend is set to the FK rig.
Pull is also based on a virtual hierarchy of your model’s skeleton which means that if you re-parent your IK rig, Pull is still based on the original hierarchy. For example, the hips have priority and a stronger effect over chest nodes. The chest has priority over the arms and legs.
When the input source is an Actor or Character, the Blend controls let you define the translation and rotation blend between the current character and the Actor or character source.
Blend values can be set per effector for the following body parts:
To adjust the blend of a body part, select the effector and adjust the Blend T slider in the Character Controls window, or the Blend sliders in the Character settings.
 Except where otherwise noted, this work is licensed under a Creative Commons Attribution-NonCommercial-ShareAlike 3.0 Unported License