You need to add a HUD element to the HUD asset in the current camera to display the element information in the Viewer.
To add a HUD element to the HUD asset in the current camera:
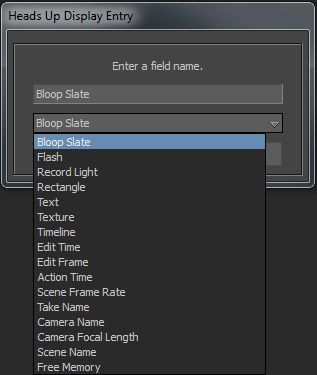
The Heads Up Display Entry dialog box appears.

The drop down list contains 16 HUD elements to select. By default, the Bloop Slate element is selected.
In the Navigator window, the HUD element appears under the HUD asset in the current camera.
If the HUD asset in the current camera is a parent of a HUD asset in the scene, then all the HUD elements added to the current camera also appear under the child HUD asset in the scene.
By following the above procedure, you can add multiple HUD elements to a HUD asset to convey useful details regarding a scene.


 Except where otherwise noted, this work is licensed under a Creative Commons Attribution-NonCommercial-ShareAlike 3.0 Unported License


