When you look at your 3D scene through the Viewer window, you are seeing it through a camera view. The camera represents your vantage point, framing your view of the objects inside the MotionBuilder 3D world. In fact, when many people describe a scene in the Viewer window, they are describing what they see happening in the Viewer window’s current camera view.
You can add an unlimited amount of cameras, by dragging a camera asset into the Viewer window. These Custom cameras can be manipulated, constrained and animated; they let you alter the settings to mimic real-world camera and film aspects. Once you add Custom cameras to a scene, they are listed below the Camera switcher in the Cameras folder.
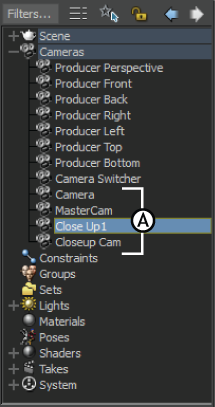
Scene browser A. Custom cameras
Custom cameras are shown in the Viewer window as white wireframe movie cameras . You can view your scene through these cameras, which can be translated, rotated, scaled, and animated.

Camera views A. A custom camera viewed through the Producer Perspective B. The custom camera view.
In certain viewing modes, as in the previous figure, you can see a dotted line that ends with a “+” (cross) symbol coming from the camera. The “+” (cross) symbol is the camera interest, or focal point, and the dotted line shows the camera view’s path.
You can also animate the camera interest or constrain it to an animated object to create a follow-cam. You can also use the Camera switcher to view a take through many custom cameras.
You can create scenes where the action is filmed through multiple cameras with the Camera switcher. For more on the Camera switcher, see Camera switcher.
 Except where otherwise noted, this work is licensed under a Creative Commons Attribution-NonCommercial-ShareAlike 3.0 Unported License


