In the following procedure, you define the floor contact for the hands so that when Mia’s hands touch the floor, it produces a realistic result.
To adjust the hand floor contact markers:
 or Shift-drag) and zoom in (
 or Ctrl-drag) on Mia’s left or right hand using various camera views.

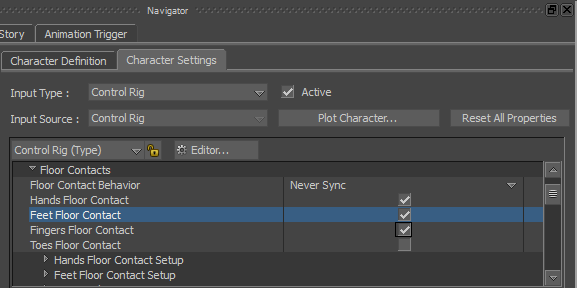
Hands Floor Contact, Feet Floor Contact, and Fingers Floor Contact shown activated

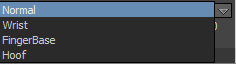
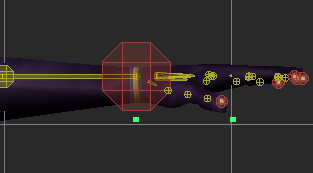
By default, the Hands Contact Type is set to Normal, which gives Mia six hand floor contact markers. Changing this option to Wrist gives each hand four floor contact markers for basic control.

 Except where otherwise noted, this work is licensed under a Creative Commons Attribution-NonCommercial-ShareAlike 3.0 Unported License


