You can use the Story window to create a storyboard that lets you plan your action before you start animating.
To create a storyboard using storyboard images:

A. Storyboard image B. Shot with models and set
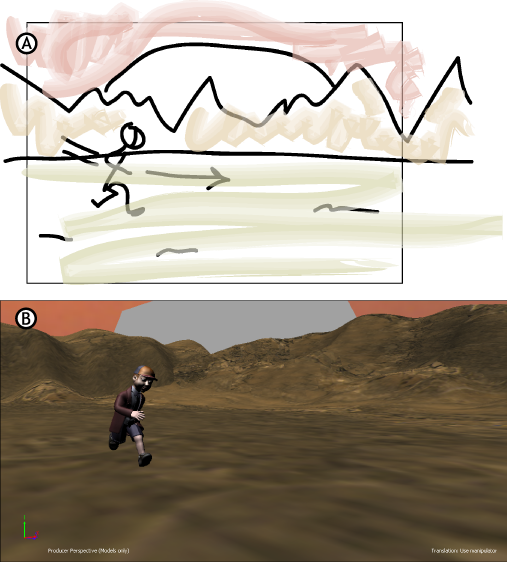
You can also create a storyboard using models and animation so you can rough out your scene before you create the characters and props you need without the use of traditional storyboard images.
To do this, set up as much of your scene in the Story window as possible and then use any characterized model to “stand in” for your yet-to-be-created character. Position cameras and tweak the scene until you are satisfied with the animation.

A. Storyboard using models and animation B. Final scene using the storyboard
When you have the correct character, drag it into the scene and select it from the Character menu of the Action track. Doing this lets you arrange and set up elements can be reused when you create the final scene. For example, you can reuse any camera shots or poses you create while building your storyboard.
 Except where otherwise noted, this work is licensed under a Creative Commons Attribution-NonCommercial-ShareAlike 3.0 Unported License


