Create animation with poses


In the following procedure, you use the three poses you created to create one half of a walk cycle. By keyframing these poses at different frames, you create a short walking animation.
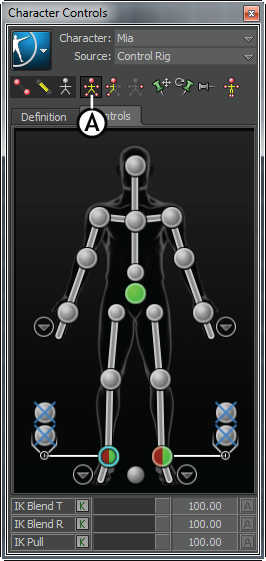
  1. In the Character Controls window, deselect any effectors that may be still selected and ensure that Full Body keying mode is selected (A).

    Character Controls A. Full Body Keying mode selected
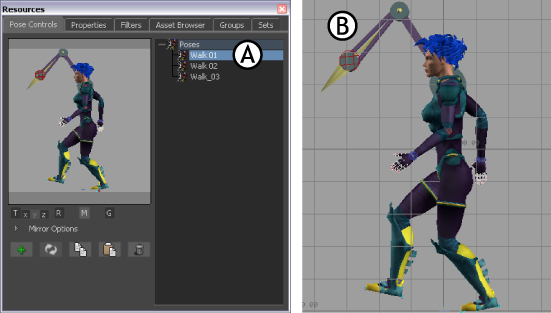
  2. In the Pose browser, double-click the “Walk 01” pose to paste it on Mia.

    Pose Controls: A. First pose for the walk cycle B. “Walk 01” pose pasted on Mia

    By default, the Gravity, Translation, and Rotation options are active in the Pose Controls window. This means that the translation and rotation of the pasted pose match the translation and rotation of the selected effector on the current character. The Gravity option ensures that the feet stay at the original level of the pasted pose (normally floor level).
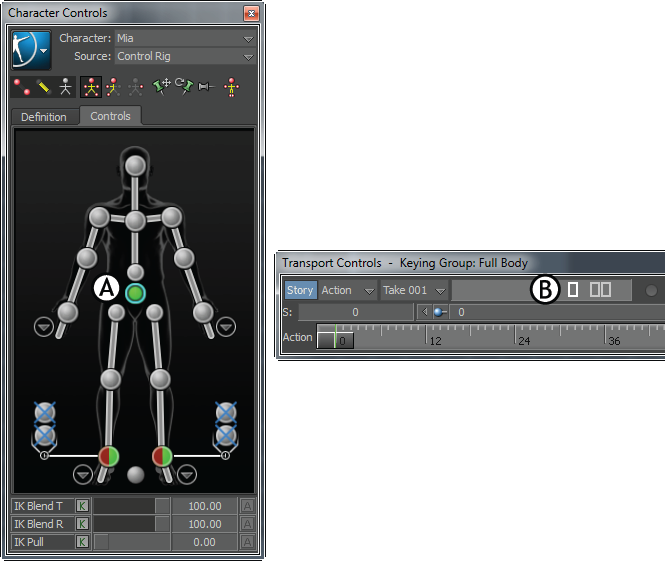
  3. Select the Hips effector, then go to frame 0 in the Transport Controls.

    A. Hips effector selected B. Current frame is 0

  4. In the Key Controls window, select Auto in the Type menu.
  5. Select AnimLayer1 from the Layer menu (A), then click Flat to set a Flat keyframe (B).
    NoteYou can also press Ctrl-K to set a Flat keyframe.

    Key Controls A. AnimLayer1 selected B. Flat key

  6. Go to frame 4 and do the following:
    • Double-click the Walk 02 pose to paste it on Mia.
    • Press Ctrl-K to set a (Flat) keyframe.

      Frame 4: A. Second pose for the walk cycle B. “Walk 02” pose pasted on Mia

  7. Go to frame 8 and do the following:
    • Double-click the Walk 03 pose to paste it on Mia.
    • Press Ctrl-K to set a (Flat) keyframe.

      Frame 8: A.Third pose for the walk cycle B. “Walk 03” pose pasted on Mia

  8. Drag the Timeline indicator through the animation to view the step you created.

    The interpolation between the three keyframes creates the movement for one step.