The following procedure shows you how to use keyframe animation techniques in MotionBuilder to refine the motion capture animation.
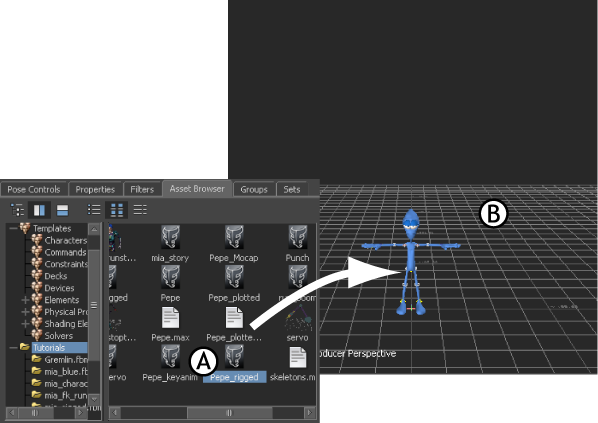
If you did not perform the previous procedures in section Import and characterize a 3ds Max Character in MotionBuilder, you can use the Pepe_rigged.FBX file in the MotionBuilder root directory in the Tutorials folder on your system or the Pepe_rigged asset in the MotionBuilder Asset browser’s Tutorials folder.
To animate the Pepe character using motion capture data:
- Launch the MotionBuilder software.
- From the Asset browser’s Tutorials folder, drag the My_Pepe_rigged asset (My_Pepe_rigged.FBX file) you saved in the previous procedures in section Import and characterize a 3ds Max Character in MotionBuilder into the Viewer window .
NoteRemember to navigate to save the file to a directory other than the default MotionBuilderTutorials directory, so that you do not override the original .fbx file.
- Select FBX Open > No Animation.
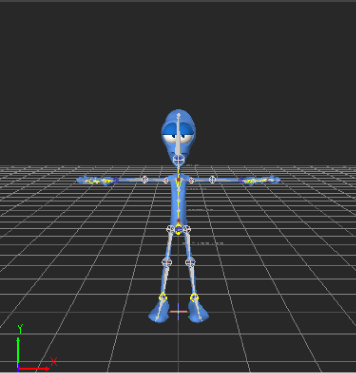
The Pepe character appears in the Viewer window.
- Click on an empty area in the Viewer window and press A to frame all and zoom in on the Pepe character.
- Press Ctrl-A until you are in X-ray mode and can see Pepe’s skeleton and Control rig.
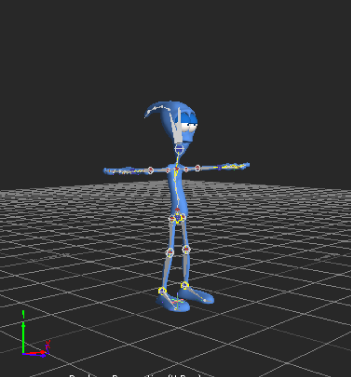
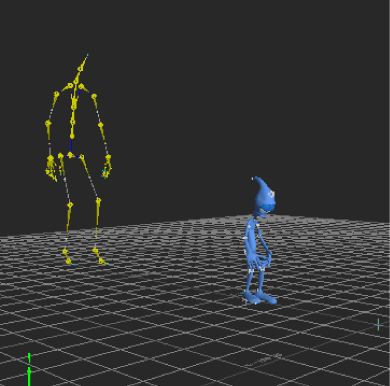
- Press Ctrl-Shift and drag to orbit until you can see the right side of the Pepe character. Use the following image as a guideline.
- From the Asset Browser’s Tutorials folder, select the IceSlip asset (IceSlip.fbx file) and drag it into an empty area of the Viewer window.
- Select FBX Merge > IceSlip.
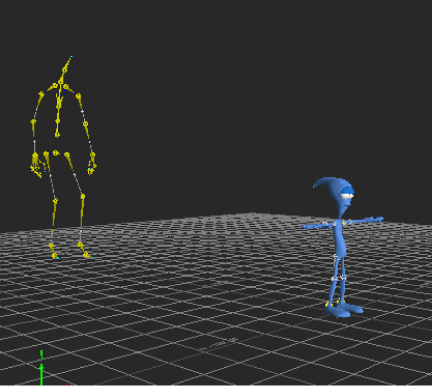
A large yellow skeleton representing the motion capture animation now joins Pepe in the scene.
- Zoom out (Ctrl-drag down or left) until you can see the yellow skeleton.
- Choose 30 fps from the drop down menu (B) on the right side of the Transport Controls.
- In the Transport Controls, click Play (A) to view the yellow skeleton’s IceSlip animation.
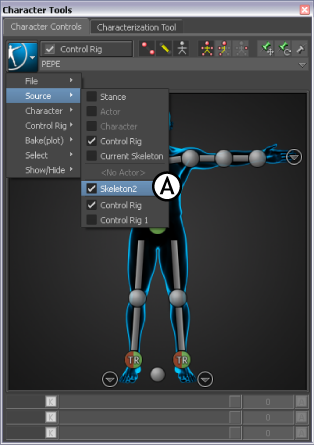
- In the Character Controls, make sure PEPE is displayed in the character list. From the Character Controls menu, select Source
> Skeleton2, which is the name of the yellow skeleton that contains the motion capture animation.
Pepe assumes the skeleton’s stance as shown in the following figure.
- In the Transport Controls, drag the Timeline indicator (slider bar) to scrub the animation. You can also hold down the J key and drag left or right in the Viewer window.
The skeleton’s animation now drives the Pepe character.
- Press Ctrl-A until only Pepe is visible, then go to frame 92 and zoom in on the Pepe character.
- Press Ctrl-Shift and drag to orbit Pepe.
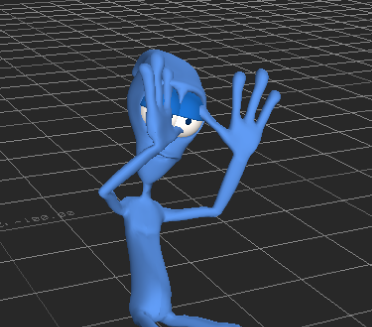
If you look carefully, you will notice that one of Pepe’s hands passes though his face.
- Scrub the animation a few times if you cannot see the problem.
The animation that drives Pepe’s bone movement is based on a skeleton that has a very different physiology. For example, Pepe’s
head, hands, and feet are much larger than the skeleton, while Pepe’s shoulders are much smaller than the skeleton’s shoulder.
- Save the file as My_Pepe_Mocap.FBX.
You can use this file for the next tutorial where you add keyframes to correct Pepe’s hand movement.
NoteThe next tutorial also shows you how to export the modified character back to 3ds Max.
