In MotionBuilder, you can animate characters by setting keyframes manually. This is useful for creating original animation or making changes to motion capture animation.
In the following procedure, you use key frame animation to refine motion capture animation and then export your edited animation and the character back to 3ds Max.
If you already know how to keyframe characters in MotionBuilder, you can skip to step 21 and export your character to 3ds Max.
To fine-tune Motion Capture animation with keyframing:

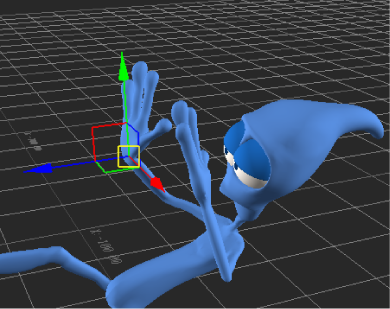
Right Wrist effector selected
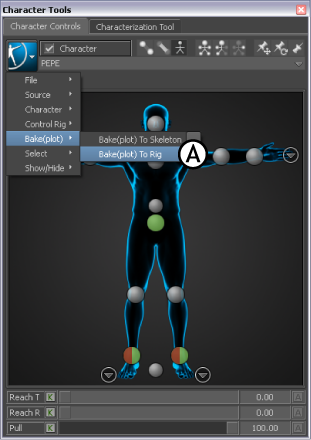
Nothing happens because Pepe’s animation is controlled by the skeleton, not the Control rig. Before you can keyframe Pepe’s motion capture animation, you must plot (or bake) the skeleton animation onto the Pepe character Control rig.
The Bake to Rig command creates a key at every frame at the base layer (or BaseAnimation layer) of the animation track, making edits difficult. (You can see these keyframes in the Transport controls if you select Pepe’s wrist effector.)

Character Controls’ Plot Character Edit menu selected
You can now edit the Pepe character using Pepe’s Control rig.

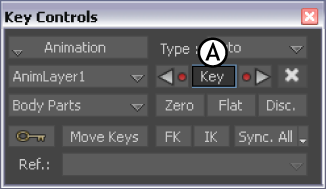
AnimLayer1 selected for adding keyframes
Selecting another layer lets you edit the animation while preserving the original animation on the BaseAnimation layer. When you select AnimaLayer1, the timeline hides the keyframes on the BaseAnimation layer and shows the keyframes set on AnimLayer1 (there are none at the moment).

As you take the following steps, all character movement before the first key and after the second key will remain unchanged. Only the character movement between frames 80 to 105 will be modified.

Hand moved away from Pepe’s face

Right hand is too close to the character’s head

Rotation rings used to reposition right hand
When you save your file, the animated Pepe character in your scene is saved, but so is the yellow reference skeleton. If you want, you can delete the skeleton from the scene, or select the Pepe character and save it to another file for import to 3ds Max, but it is not necessary. You can just as easily strip out the skeleton when you import to 3ds Max.

File >Send to 3ds Max > Send as New Scene
3ds Max launches and the animated Pepe Character loads in the Viewport.

Pepe's animation played back in 3ds Max
In this series of tutorials, you took different skeletons created in 3ds Max and exported them to MotionBuilder. In MotionBuilder, you characterized the bones, and animated the character.
Then, you made a few adjustments to perfect the motion, and exported the Pepe character back to 3ds Max.