The following Path constraint settings are found only in the Properties window when the constraint is selected in the Scene browser:
Use the Warp Mode menu to select a method to evaluate your curve animation.
| Warp method | Description |
|---|---|
| Percent | Evaluates the curve by percent, with 0 being the start and 100% being the end. |
| Segment | Evaluates the curve animation point by point. |
Shows the progress of the Curve animation on a slider. Move the slider forward to advance the animation to a later point.
If Follow Path is activated, lets you select a different axis to orient the constrained object’s Up vector.
| Offset type | Description |
|---|---|
| Translation Offsets XYZ | Use these fields to move the constrained object from the 3D Path. You can set key animation on any of these settings. |
| Roll | Use the Roll slider to rotate the constrained object around the X-axis. |
| Pitch | Use the Pitch slider to bank the constrained object up or down the Y-axis. |
| Yaw | Use the Yaw slider to spin the constrained object using the object’s center as the axis. |
| Display setting | Description |
|---|---|
| UI Color | Double-click to open the color window where you can set a color for the start and end points of the path. |
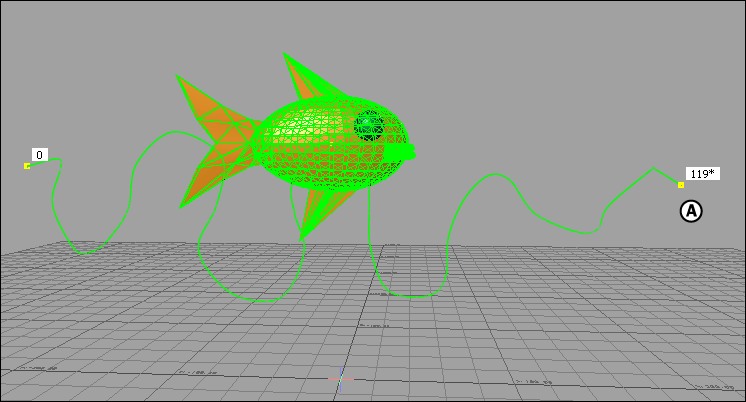
| Show warp key frame | Disable this setting to hide the warp key frame boxes in the Viewer window. |
The duration of the path animation is determined by the time set in the Transport Controls End field. For example, if the End field has a value of 300 frames, the object takes 300 frames to travel to the end-point of the path.

A model with the Path constraint added. A. The duration appears in a white field at either end of the path.