Create property references using the Property Reference pane or the Viewer window.
A null and light are used as an example in the following steps.
To create a property reference with the Property Reference pane:

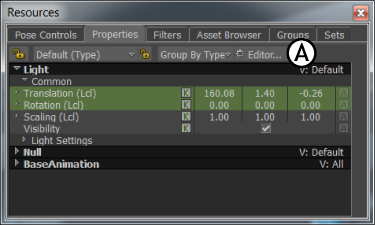
Properties window A. Editor button
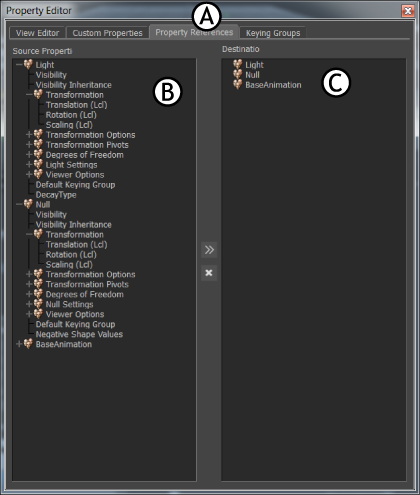
The selected null and light’s properties display in the Source Properties area and the null and light display in the Destination area.

Property Editor A. Property References pane B. The null and light’s properties display in the Source Properties area. C. The null and light display in the Destination area.

Property References pane A. Select the Light’s Cone Angle property. B. Select the null. C. Click the Add button.

Property References pane A. Light.Cone angle property reference added to the null.
A property reference displays in blue. By default, a property reference name is “x.y”, where x is the source object’s name, and y is the property’s name. In this situation, the property reference is called “Light.Cone angle”.
To create a property reference with the Viewer window:
You can drop the property onto the null in the Viewer window, in the Scene browser, or in the Properties window.

Creating a property reference A. Select the Light in the Viewer window. B. Drag the light’s Cone angle property onto another object, such as the null. C. Select Create Property References.
The property you dragged displays in the Properties window when the null is selected. However, to indicate that Cone angle is the Light’s property and not the null’s, the referenced property displays with the name of its object. In this example, the Cone angle property displays as “Light.Cone angle” when the null is selected.

Properties window A. When the null is selected, the light’s Cone angle property displays with the null’s properties.
If you select the Light again, its Cone angle property still displays in the Properties window. A referenced property works like a shortcut or an alias for an object.