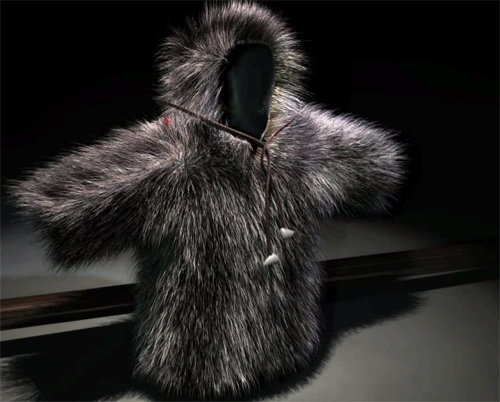
You can combine nHair and nCloth objects to create a hair-on-nCloth simulation. Hair systems can be generated on the surface of a deforming nCloth mesh using the surface UV sets (Grid) or the components (At Selected Points/Faces) of the mesh. The hair system output can be NURBS curves, Paint Effects, or both.
For best results, convert the geometry to an nCloth object before creating nHair on its surface. Maya automatically assigns the nHair system to the same Nucleus solver as the nCloth allowing two-way interactions between the objects. For example, these interactions can be nHair curves pushing on nCloth surfaces, and nCloth mesh faces and vertices pushing against the curves creating two-way collisions.

When you create nHair on an nCloth object, Maya generates a start position output mesh. The hair system follicles attach to this mesh and their start positions are calculated by the Nucleus solver, which continues to evaluate follicle position for the duration of the simulation. When caching the simulation, set the Cacheable Attributes to Dynamic State in the hairSystemShape node Attribute Editor. Save the nHair and nCloth objects to separate nCache files by selecting One file per object in the Create nCache Options window.
 Except where otherwise noted, this work is licensed under a Creative Commons Attribution-NonCommercial-ShareAlike 3.0 Unported License