


This workflow demonstrates how to export a Bullet simulation to an Alembic cache. You can use Alembic caches in Maya to transfer Bullet simulations between various stages of a production pipeline. The contents of Alembic cache files are evaluated as Maya geometry and can be modified with polygon, NURBS, and subdivision surface editing tools.
See Alembic Caches for more information on how the Alembic caching system works.
Working this way is ideal for scenes that are going to be developed by other teams, such as a Lighting or Camera artists where you can supply a lightweight version of the simulation to them so they can then add their elements before the final render.
The workflow is broken into two parts:
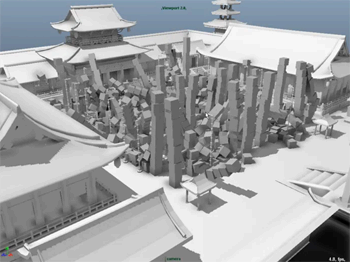
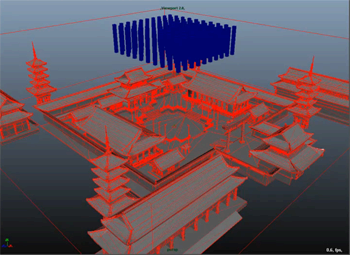
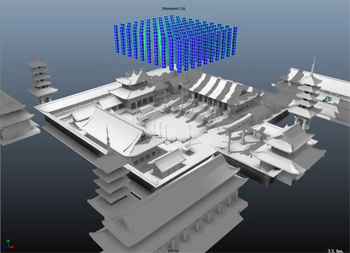
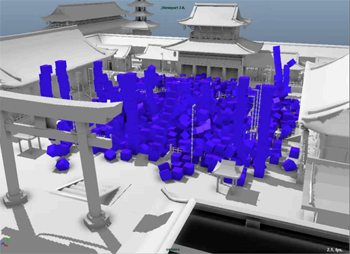
In this part of the workflow, we start with a Samurai scene that includes lighting and cameras which use a Rigid Set simulation of 1000 objects falling from the sky and colliding with the Samurai model. We are going to create an Alembic cache file of the Rigid body simulation hierarchy that can be sent to a second team, who are responsible for adding lighting and cameras. Using Alembic lets you scale so you are not simulating and driving the actual objects.
The Rigid sets used in the simulation are standard primitive shapes (for example, boxes and spheres or hulls,) that will not transfer their materials or textures from their original geometries. The scene used in this workflow is a model of a Samurai Dojo. (Samurai Dojo model courtesy of AMD)

Once the simulation is ready, we have to transfer the animation onto the original geometry that has the material and textures.
The Alembic cache file contains a flat list of all animated objects with their animation in world space. The cache file contains only the animation, no mesh or material information.
A cache file is created that the first team can send to the second team to view the simulation. The Import/Merge process is described in the next part of this workflow: Importing and Merging the Cache File.
In this part of the workflow, the lighting and camera team receives the exported Alembic cache file and merges it with their version of the scene that has lights and cameras. The second team's scene contains the same hierarchy as the team that created the solve, but with no animation.
 .
.
 Except where otherwise noted, this work is licensed under a Creative Commons Attribution-NonCommercial-ShareAlike 3.0 Unported License