This workflow demonstrates the rigid body simulation and collision detection between any two of the three objects.
- In a new Maya scene, set the Maya Time Slider duration to 100 frames and ensure it is set to play back at frame 1.
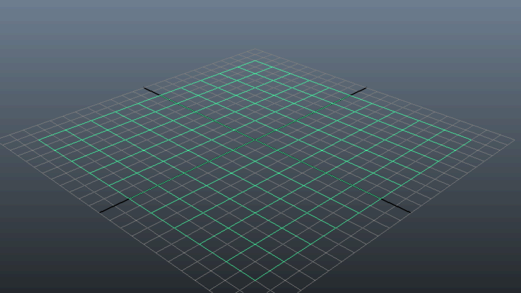
- Create a polygon plane by selecting > > .
- Set the Width and Height to 20, and click .
- Convert the plane to a rigid body by selecting it and selecting > >
 .
.
- In the window, change the from the default to which is a better match.
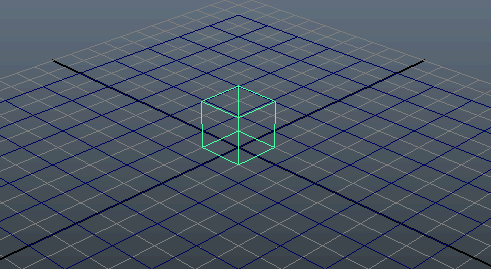
- Create a polygon cube by selecting > > .
- Set the , , and to 2, and click
- Position the cube by setting its values to the following:
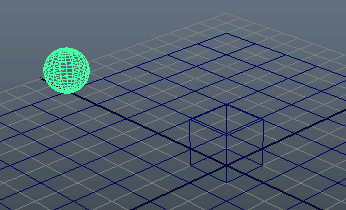
- Create a polygon sphere by selecting > > . Set the to 1 and click
- Position the sphere by setting its values to:
- Convert the cube and sphere to rigid bodies by selecting them and selecting >.
- Select the cube and select its node tab in the .
- In the Rigid Body Properties section, set to 0.1. This reduces the force due to friction that is currently acting on the object.
- Select the sphere and select its node tab in the Attribute Editor.
- In the Rigid Body Properties section, set to 0.1 and in the Forces/Impulses section, set along the X axis to 0.2.
- In the Collider Properties section, set to sphere. It is a good idea to match the Collider Shape type as closely to the shape you are using as possible.
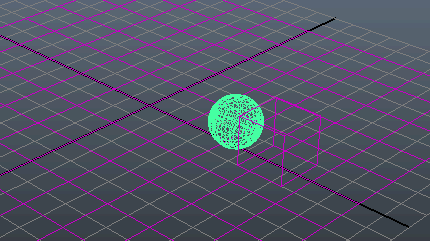
Play back to the simulation. The Impulse attribute applies a force along the X axis causing the rigid body sphere to roll
along the plane and collide with the cube, pushing it along.
 Except where otherwise noted, this work is licensed under a Creative Commons Attribution-NonCommercial-ShareAlike 3.0 Unported License


 .
.


 Except where otherwise noted, this work is licensed under a Creative Commons Attribution-NonCommercial-ShareAlike 3.0 Unported License