This workflow demonstrates a simple cloth simulation using a soft body plane and an anchor constraint.
- In a new Maya scene, set the Maya Time Slider duration to 200 frames and ensure it is set to playback at frame 1.
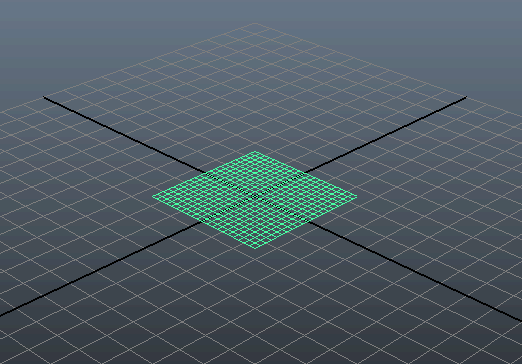
- Create a polygon plane by selecting > > >
 . Set the and to 5 and the and to 20. Click .
- Position the plane by opening the Channel Box and setting its Translate values to: One of the four corners of the plane should now be at the origin.
- Convert the plane to a soft body by selecting it and selecting > The plane is now a soft body object.
- Select > to create a Locator at the origin at the corner of the plane.
- Right-click the mesh and select from the menu that appears.
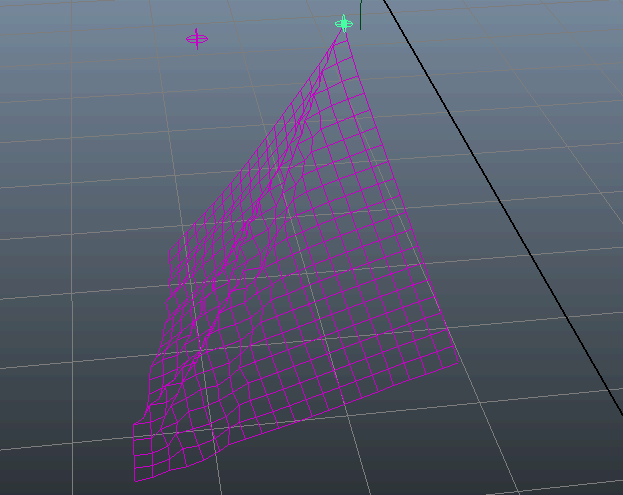
- Shift-select the mesh vertex at the origin (at the corner of the plane) and the locator and select > This attaches the selected vertex to the locator.
Play back the simulation. The cloth falls due to gravity but hangs on to the locator like a constrained cloth.
- Next, to see how you can have Bullet objects interact, create a polygon sphere by selecting > > . Set the to 1.00 and the and divisions to 20. Click .
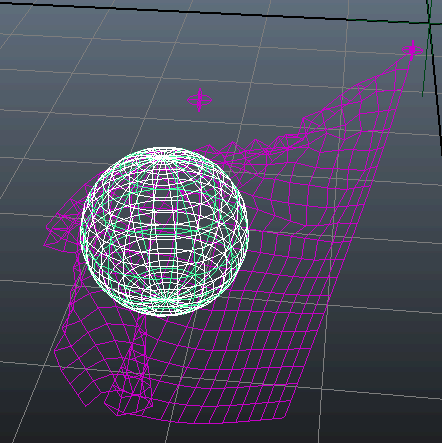
- In the box, position the sphere by setting its values to: The Sphere is now underneath the plane.
- Include the sphere in the solve by selecting it and selecting > . Set to .
- Play back the simulation. The cloth drapes over the sphere because you have set it as a passive rigid body which includes it in the solve.
- Make sure the cloth has enough resolution (UVs), and activate and in the BulletSoftBodyShape setting in the . Ensure that you do not set the BulletSoftBodyShape settings in the too high and that the is low.
NoteYou can improve the solve behavior by setting the solver's internal frame rate to 120 Hz.
 Except where otherwise noted, this work is licensed under a Creative Commons Attribution-NonCommercial-ShareAlike 3.0 Unported License

 . Set the Width and Height to 5 and the Width divisions and Height divisions to 20. Click Create.


 Except where otherwise noted, this work is licensed under a Creative Commons Attribution-NonCommercial-ShareAlike 3.0 Unported License