


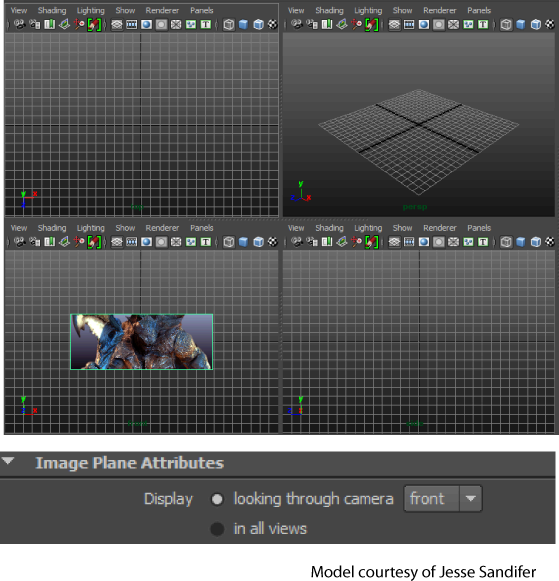
You can choose to display your free image plane in all views; or, only through a specified camera. The drop-down list beside the Display > looking through camera allows you to select the camera through which the image plane is displayed.
This feature is only available for free image planes.
The drop-down list beside this option becomes active and lists all the cameras in the scene.
The image plane is only displayed through the selected camera.
You can also specify the camera via the imagePlane MEL command. Set the -showInAllViews flag to false and then set the looking through camera using the -lookThrough flag. For example, this command creates an image plane and sets the looking through camera to the side camera.
imagePlane -showInAllViews false -lookThrough side;
The -showInAllViews flag is set to True by default.
See imagePlane for more information regarding this command.
 Except where otherwise noted, this work is licensed under a Creative Commons Attribution-NonCommercial-ShareAlike 3.0 Unported License