Planar mapping projects UVs onto a mesh through a plane. This projection is best for objects that are relatively flat, or at least are completely visible from one camera angle.

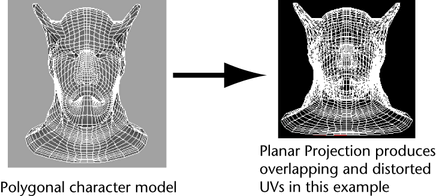
Planar mapping typically gives overlapping UV shells. The UV shells may be perfectly superimposed and look like a single UV shell. You should use Edit UVs > Layout after mapping to separate overlapping UVs.
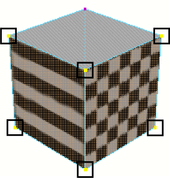
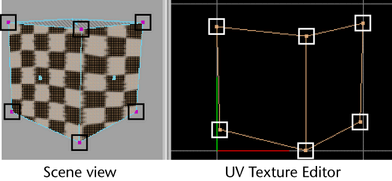
The Best Plane Texturing Tool assigns UVs to the faces you select based on a plane computed from vertices you specify.
You can select the faces you want to map before you choose the Best Plane Texturing tool, or you can choose the tool and then click each face you want to map.
To map based on the best fit plane of the selection
 .
.
 on the mesh and choose Vertex to switch to selecting vertices).
 .
.

To project from a plane defined by the view

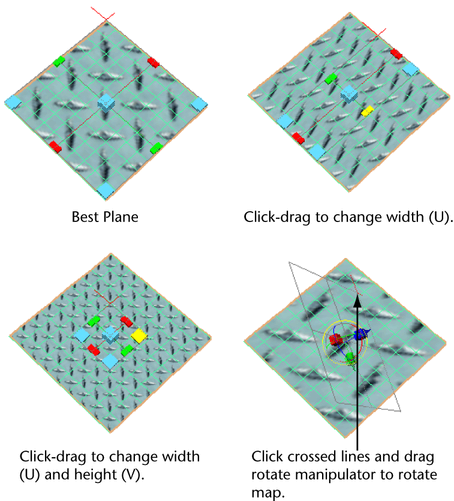
To map based on a planar projection
 .
.

You can also rotate the manipulator by clicking the red crossed lines, which reveals the Show Manipulator tool. Click the light blue circle around the Show Manipulator handle to activate the rotate handles.
To avoid these problems, manually separate the UVs with Edit UVs > Layout >  . Set Separate shells to Folds and the Shell layout option to Along U or Into Square.
