Follow these steps to create a re-combination of your render passes and preview them in the Render View.
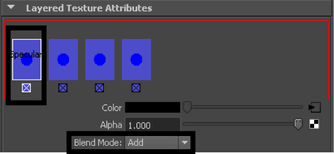
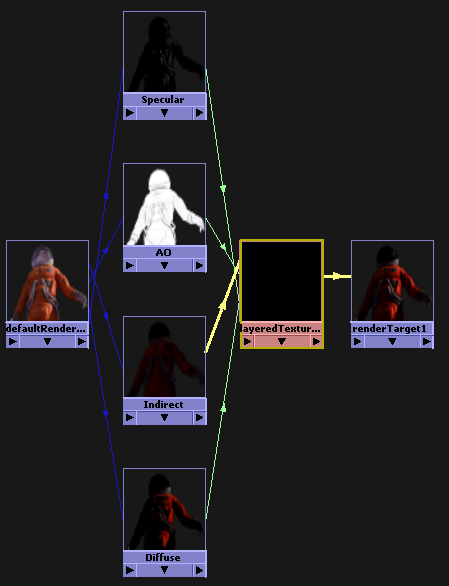
Your re-combination is created using a Layered Texture node.
 the Indirect pass node to the Alpha attribute of the Indirect pass layer of the Layered Texture node to connect the alpha attribute.

 +
+  drag your Layered Texture node to your Render Target to connect them via the color and alpha attributes.
In addition, in the Render View window, lock the  button . By locking this button, only the 2d compositing graph is rendered. Your render pass results are already up to date
and it is not necessary to re-render them again. For more information regarding this button, see Render View toolbar.
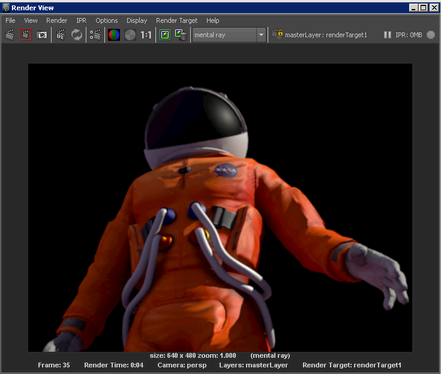
 . This renders the output of your Render Target node, which is your Layered Texture that encompasses a re-combination of your render passes.
