 .
.

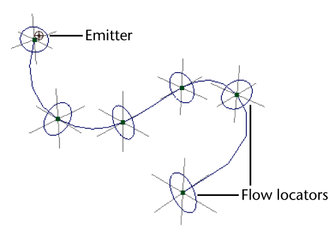
An emitter and flow locators appear on the curve. The flow locators are visual aids that show the maximum spread of the particles during animation. For details on altering the speed and spread of the particles, see Work with flow locators.
Emitted particles flow along the curve. You can move the curve or its CVs to change the direction of flow.
Edit attributes of the Curve Flow effect
The following attributes appear in the Create Fire Effect Options window when you select Effects > Create Curve Flow >  . You can edit many of the attributes with the Attribute Editor after you use the Curve Flow effect. Exceptions are noted
in the text.
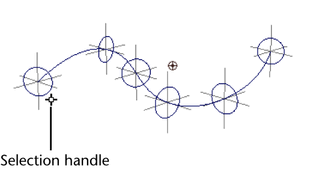
To display the attributes in the Attribute Editor, first select the Curve Flow node in the Outliner or workspace (see Curve Flow Group Name below). To select the Curve Flow node in the workspace, select the selection handle near the first flow locator.

If you use the Curve Flow effect two or more times on the same curve, you’ll see multiple selection handles near the first flow locator.
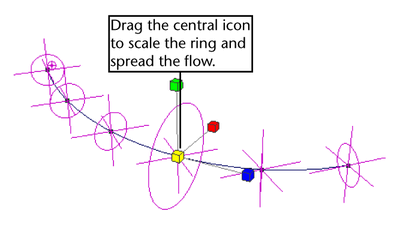
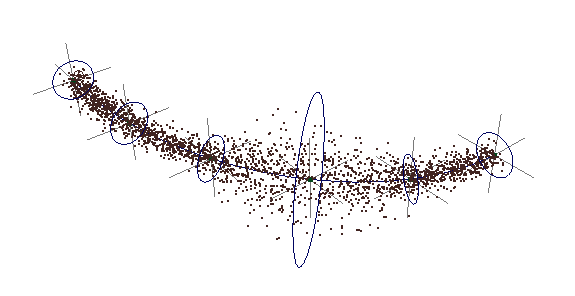
Flow locators control the speed and diameter of the flow in different parts of the curve. You can scale the flow locator rings to expand or shrink the flow diameter in that area. You can move the rings along the curve to speed or slow the flow in that area. This is useful when you’re simulating fluid flow down uneven surfaces. The flow is slower where rings are closer together. The flow is faster where rings are further apart. You can therefore space the rings to adjust the flow speed.
To expand or shrink flow diameter at part of a curve

You cannot scale along a single axis. Emission always occurs in a circular region. The ring represents the outer boundary of emission at that point. Maya interpolates the emission diameter between neighboring rings. In other words, the emission diameter increases or decreases smoothly between neighboring rings of different diameters.

To speed or slow flow at an area of a curve