


You can use the rendering buttons in the Status Line in Maya’s main window, or use the buttons in the Render View toolbar to perform various operations.
Some tools are renderer specific. For example, the IPR tools appear only for Maya software and mental ray rendering.
For more information on Render View, see Render View rendering.

Renders only the region with a marquee. This is useful if you’ve made a change to part of the surface on which you want to perform a quick test render. See Render a region of your scene for details.

Opens a menu from which you can choose the view. A wireframe snapshot is taken of the view you select and loaded as a background into Render View. You can then marquee a region to render in front of the snapshot’s background and select the Render region icon.
 -click this button to select a camera. All cameras, default and user-defined, are available.

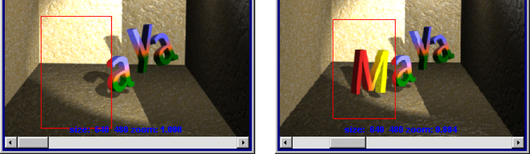
Keeps the current image so you can view it later. When you keep more than one image, a slider displays at the bottom of the window. Drag this slider to view a previously “kept” image.
You can also keep rendered images with any annotation you’ve added. -click the Keep Image button, and select the Keep Image with Comment option. When the Custom Comment dialog box appears, enter your text into the field, and click OK. Custom comments appear at the bottom of the image.
Remove Current Image / Remove All Images

Right-click the icon to select either the Remove Current Image or Remove All Images option.
These options can also be selected via the File > Remove Image from Render View and File > Remove All Images from Render View menus in the Render View window. See Render View menu bar for more information.
Releases all images (and the memory these images use) from Render View so that only the most recently rendered image remains.
If you are viewing one of the saved images in the Render View window, this option still removes all saved images, including the currently displayed image. Only the most recently rendered image is kept.

Toggle between rendering all upstream images used by the compositing graph or rendering only the 2d compositing graph.
Keep button unlocked  to render all dependencies. For example, if your render target uses a render pass, the layer containing that pass is re-rendered.
if the render target uses the result of other render targets, those render targets are re-rendered, along with their own dependencies.
to render all dependencies. For example, if your render target uses a render pass, the layer containing that pass is re-rendered.
if the render target uses the result of other render targets, those render targets are re-rendered, along with their own dependencies.
When working with a compositing graph, lock button  to render only the 2d compositing graph.
When making a change to the scene, unlock this button and render. If you have a render target selected in the Render View, the result of that render target is displayed after you render. After you have finished making your scene changes, lock this button to work with your compositing graph and render your render target without waiting for re-rendered passes.
before re-rendering your render target.
 .
.


