A runtime expression controls an attribute as an animation plays, before or after dynamics calculation. Maya updates any attribute that’s assigned a value in a runtime expression each time the expression executes. This can be updated before dynamics evaluation or after dynamics evaluation, as selected. This typically occurs once per frame.
If an attribute is not set by a runtime expression, the attribute uses the creation expression value for subsequent frames of the animation.
Suppose you’ve created a grid of particles, then create this runtime expression for its velocity attribute:
particleShape1.velocity = <<0,1,0>>;
The expression moves the grid of particles up at 1 grid unit per second as the animation plays.
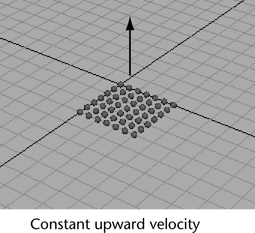
To make the illustrations of particles easier to see in this and other chapters, we show them as small, shaded spheres rather than points.
To display particles as spheres
With the default frame rate of 24 frames/second, the particles move 1/24 of a grid unit each frame. With the default oversampling level of 1, the runtime expression executes once per frame. Maya calculates the runtime expression once for each particle of an object.
Because the expression sets the velocity to <<0,1,0>> each frame, the expression executes redundantly. This expression would therefore be more appropriate for a creation expression. However, either type of expression has the same effect in this example.
Suppose you’ve created a grid of particles, and your animation’s starting frame number is 0. You create this runtime expression for its velocity attribute:
particleShape1.velocity = <<0,time,0>>;
The expression increases the Y component of velocity with the increasing value of time as the animation plays. This makes all particles in the grid rise with increasing velocity as the time increases. An increasing velocity is the same as acceleration.
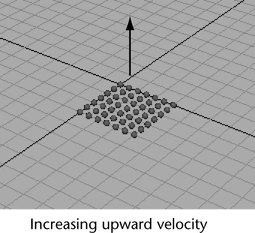
You need to use the statement in a runtime expression rather than a creation expression, because you’re increasing a value in the assignment each frame.
Using the statement in a creation expression would instead set the velocity to a constant value <<0,0,0>>, because time equals 0 when the creation expression executes for the particle grid.
The previous examples gave all particles the same value for the velocity attribute. You can instead give each particle a different value for an attribute.
Suppose you’ve created a grid of 121 particles.
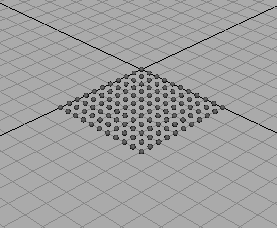
Suppose further you create this runtime expression for its acceleration attribute:
particleShape1.acceleration = sphrand(2);
The expression executes once for each of the 121 particles each time the runtime expression executes.
The sphrand(2) function provides a vector whose randomly selected components reside within an imaginary sphere centered at the origin and with a radius of 2. Each particle receives a different vector value. For details on the sphrand function, see sphrand.
Because each particle receives a different random vector for its acceleration each frame, the particles accelerate individually in a constantly changing direction and rate as the scene plays. This gives the acceleration abrupt changes in direction.
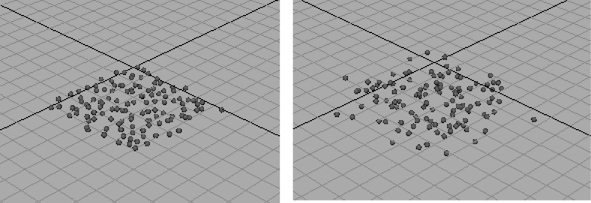
Maya simulates the physics of acceleration. It initializes acceleration to <<0,0,0>> before each frame, or if the oversample level is greater than 1, before each timestep.
If the oversample level is 2, there are 2 timesteps per frame. If the oversample level is 3, there are 3 timesteps per frame, and so on.
Suppose you’ve set your animation’s starting frame to 0, and you’ve used the Particle Tool to place a single particle at the origin:
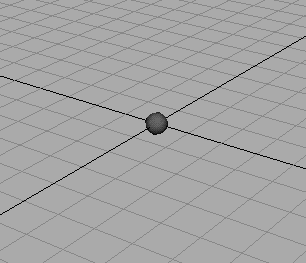
You then create a runtime expression to control its position:
particleShape1.position = <<3,time,0>>;
When you play the animation, the runtime expression takes control of the attribute. In the first frame that plays, the particle jumps to <<3, time, 0>>. At the default frame rate of 24 frames/second, the position is <<3, 0.0417, 0>>, because the value of time is 0.0417.
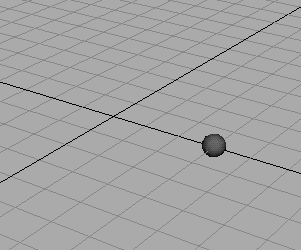
Each subsequent frame moves the particle upward at a rate set by the incrementing value of time.
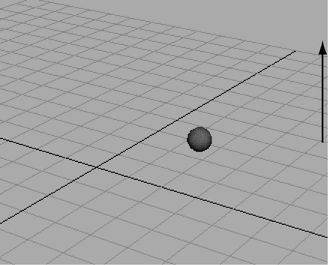
When you stop and rewind the animation, the particle moves back to the origin, the particle’s original position when you created it with the Particle Tool. When you created the particle, Maya stored its original position in an internally maintained initial state attribute named position0. For details, see Understand initial state attributes.
Because the attribute has no creation expression controlling its value, Maya sets the attribute to its initial state position0 value of <<0,0,0>>.
To prevent the particle from jumping back to the origin after rewinding, you can write a creation expression that’s the same as the runtime expression:
particleShape1.position = <<3,time,0>>;
When you rewind the animation, the particle moves to position <<3,time,0>>. Because time is 0 at frame 0, the particle starts at position <<3,0,0>> when you rewind the animation. In the second and following frames, it moves upward synchronized with the increasing value of time.
Though this example showed how to initialize the position attribute with a creation expression, you could have gotten almost the same result by saving the object’s current attribute values for initial state usage:
To save the current attributes for initial state usage:
When you rewind the animation, Maya positions the object at the initial state setting of its position attribute. This setting is <<3, 0.0417, 0>> because you selected Set for Selected while the position was equal to <<3, 0.0417, 0>>.