


You can create a fluid container and add an emitter to it at the same time using the following procedure. The emitter is automatically parented to the container so they move together when you move the container.
To create a fluid container with a fluid emitter automatically connected to its center
 .
. 
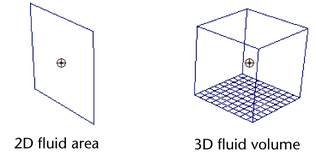
For a 2-dimensional fluid, select Fluid Effects > Create 2D Container with Emitter > .

Maya creates the fluid container and fluid emitter, parenting the fluid emitter to the container. By default, Density and Velocity are set to Dynamic Grid with their values set to 0 in each of the voxels. Temperature and Fuel are set to Off.
If you are in wireframe mode, the fluid displays as particles by default.
To view the simulation as it would render, switch to shaded mode and in the Display area of the fluidShape Attribute Editor, change Shaded Display to As Rendered.
If you turn on Auto Resize and Resize to Emitter, the fluid container automatically moves to the emitter's location. See Auto Resize.