This example will show you how to create a bag of marbles out of a single nCloth bag and a number of particles.
Create the marbles
You will begin by creating a number of nCloth marbles.
To generate a mesh for your marbles
- In the menu set, select Create > Polygon Primitives > >
 .
.
The window appears.
- Select .
- Set the plane options as follows:
- Click .
Maya creates a plane centered at the origin.
- Select Edit Mesh > Extrude.
- In the , select the polyExtrudeFace1 tab and enter the following:
Maya generates a cube based on your original plane.
- Select Edit Mesh > Merge.
-
 -click the cube and select .
- Select the cube.
- In the menu set select nMesh > Create nCloth.
- Open the .
- In the section, adjust the following attributes:
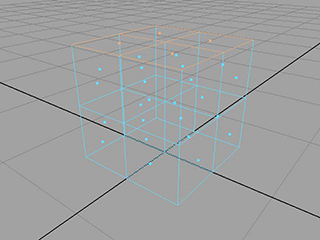
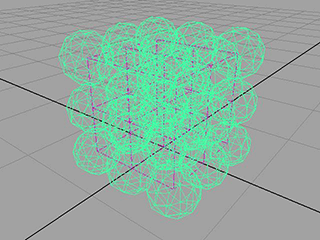
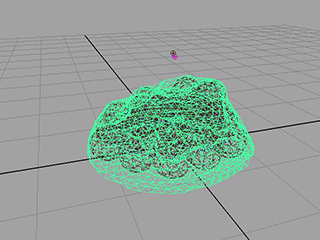
The nCloth now appears as a number of colliding particles.
- In the section, adjust the following attributes:
- Select the nucleus1 tab and turn on .
- In the scene view, select the nCloth and translate it above the ground plane. You may also rotate it if you desire.
- Playback the simulation.
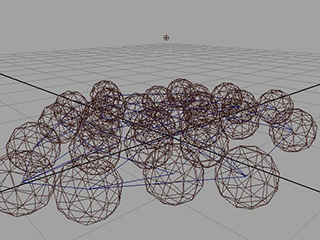
The cloth falls like a pile of marbles.
Creating the bag
To complete the simulation you need to hide the nCloth marbles and create a bag.
To hide the cloth mesh
- In the , select the outputCloth1 tab.
- In the section, adjust the attributes as follows:
- In the , select .
- In the section adjust the attributes as follows:
The nCloth marbles no longer appear in the scene view or render view.
To model the marble bag
- In the menu set select Create > Polygon Primitives > > .
The window appears.
- Set the to and click .
- Select Mesh > Smooth.
The icosahedron becomes more spherical.
- In the , select the polySmoothface1 tab.
- Adjust the attributes as follows:
- In the , adjust the channel values as follows:
- : 0.848
- : 1.5
- : 1.5
- : 1.5
- In the menu set select nMesh > Create nCloth.
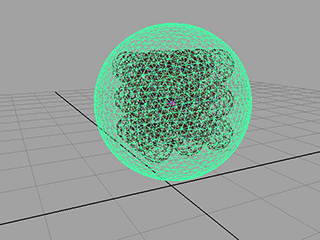
- Playback the simulation.
The bag of marbles falls to the ground.
Constraining the Bag
In order to keep the bag suspended you need to constrain its position.
To constrain the bag
- -click the bag and select from the marking menu that appears.
- Select a number of vertices at the top of the bag.
- Select nConstraint > Transform.
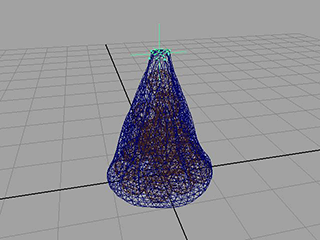
- Playback the simulation.
The top of the bag now stays in place while the marbles weigh the bottom down.
Adjusting the pressure of the bag
When you render this scene, you may want the marbles to show through the bag more prominently. You can do this by adjusting
the pressure setting of the bag.
To enhance the marbles displayed through the bag
- Select the bag.
- In the , select the nClothShape2 tab.
- In the section, set to -0.5.
- Playback the simulation.
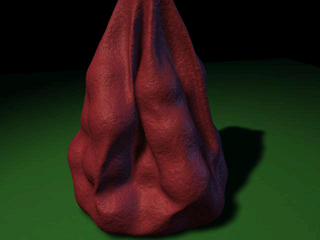
The air is sucked out of the bag as the marbles fall which allows the marbles to show through the bag more clearly.
To animate the bag at full speed
- Go to the beginning of the playback range.
- Select the bag and then select nCache > Create New Cache.
Maya automatically plays back the nCloth simulation and saves it to disk as a cache.
- Playback the simulation.
The simulation plays at full speed.