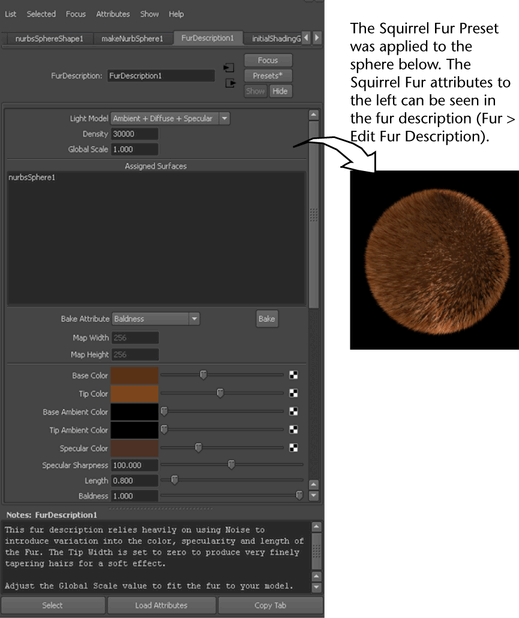
Maya includes a set of fur description presets that you can optionally use as a starting point for various fur types. Click
the button at the top of the fur description or open the default shelf (Windows only) to access these presets.
In addition you can save the attribute settings of a fur description as a Fur Preset using the button in the . External connections to the node (such as maps applied to attributes) are not saved.
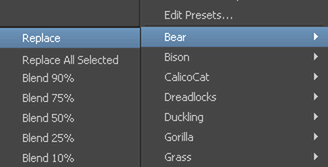
You can load Fur Preset settings into any fur description, and blend Fur Presets to get new variations. You can only delete
Fur Presets you have created, not any of the Fur Presets that ship with Maya.
See Fur Presets for a complete list of available Fur Presets and sample images.
Note
After you apply a Fur Preset, if the scale of the fur does not match your scene, adjust the value accordingly.
Related topics
To apply a Fur Preset
- Select the surface(s) to apply fur to.
- Do one of the following:
- From the shelf, click the desired Fur Preset button.
- Attach a fur description (Fur > Attach Fur Description > ), click the button in the , select the desired Fur Preset from the pop-up menu and then click .
- Change the name of the fur description to something meaningful (for example, bodyFur) and edit the fur description attributes.
For details, see Edit fur descriptions. Read the section for useful information about the Preset.
To blend a Fur Preset
- Select the object and then in the menu set select Fur > Edit Fur Description > , where is the name of the you want to blend with a Preset.
- Click the button in the .
- From the pop-up menu select the desired Fur Preset and then select the percentage of blending.
To save a fur description as a Preset
- Select the fur object and then in the menu set select Fur > Edit Fur Description > FurDescriptionName, where is the name of the you want to save as a Preset.
- Click the button in the and from the pop-up menu select .
- Type a name in the text box and then click .
To delete a Fur Preset
- Select the object and then in the menu set select Fur > Edit Fur Description > , where is the name of a .
- Click the button in the and select from the pop-up menu.
The window appears.
- Select the Fur Preset that you want to delete and click .
- Click .

