Use the controls in the Interface menu to set the appearance of the user interface to your liking. For example, you can set the user interface to suit the room lighting conditions as well as control the display of a matte overlay by adjusting the opacity and RGB parameters of the unselected region of the matte. From the Interface menu, you can also add an overlay, such as a logo, to your cut.


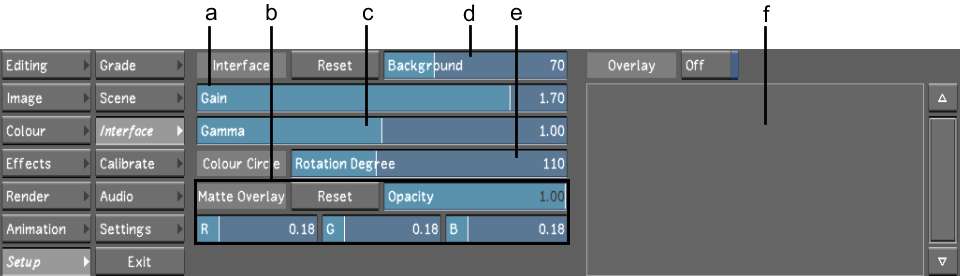
(a) Gain slider (b) Matte Overlay (c) Gamma slider (d) Background slider (e) Colour Circle slider (f) Overlays field
The Interface menu is made up of the following elements.
Background fieldSets the shade of grey of the area surrounding the image window.
Gamma fieldSets the brightness of the midtones of the menu area. The gamma primarily affects the grey areas of the menu, such as button backgrounds.
Gain fieldSets the overall brightness of the menu area. The gain primarily affects lighter areas of the menu, such as text.
Colour Circle fieldSets the position of colours in the colour wheels found in the Grading menu. The default rotation degree is 110.
Reset buttonResets all parameters in this menu to the default values.
Overlay list Includes a list of all files that can be applied as an overlay. See Applying Overlays.


