Use this
feature to apply an overlay to your cut. For example, you can add a
logo to every frame. An overlay consists of a single uncompressed
RGBA, TIFF, or SGI® file
containing alpha channel information. The white areas of the file
are viewable in the cut.
To make files available for use as overlays:
- Exit Lustre.
- Navigate to the Lustre directory
by doing one of the following:
- If using the Windows version of Lustre,
in Windows Explorer, go to C:\Program Files\Autodesk\Lustre 2011 Extension 1,
where C is the drive where Lustre is
installed.
- If using the Linux version of Lustre,
type:
- Create a directory called overlay.
To do this in Linux, type:
- Place any files you want to use as overlays
in this directory. To do this in Linux, type:
<path><filename>
- Restart Lustre.
To apply an overlay to a cut:
- Load the cut to which you want to apply
an overlay. See
Loading a Cut.
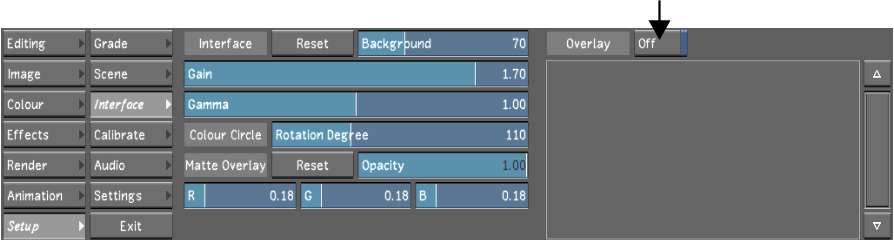
- In the Main menu, click Setup, and then
click Interface.
The files in the overlay directory
appear in the Overlay list.
- Click the overlay file that you want
to apply.
It is highlighted.
- Enable On/Off.
The overlay is applied to the cut.