When using the Tracer, you can animate the basic vertex parameters, as well as the following additional parameters.
| Parameter | Channel Folder and Name(s) | Channel Values |
|---|---|---|
| The position of the two softness vertices relative to the mask vertex. | border: upper = outer vertex* bottom = inner vertex* |
|
| Whether pickers are linked to tangents or not. Linked—Pickers move with tangents. Unlinked—Pickers remain in their current position when tangents are moved. |
pickers: fixed | 0 = unlinked 1 = linked |
| The on/off status of pickers. | pickers: active | 0 = off, 1 = on |
| The position of the pickers relative to the mask vertex. | pickers: upper = outer picker* bottom = inner picker* |
|
| The picker size. | pickers: u-size = outer picker size* b-size = inner picker size* |
|
| The Sample on/off status of pickers. See Animating Picker Values. | sample: active | 0 = Sample off 1 = Sample on |
| The interpolation mode for picker values when Sample is off. See Animating Picker Values. | sample: interp. | 0 = Constant 1 = Linear |
*Channel Editor designations for “upper” and “bottom” assume the mask was drawn clockwise.
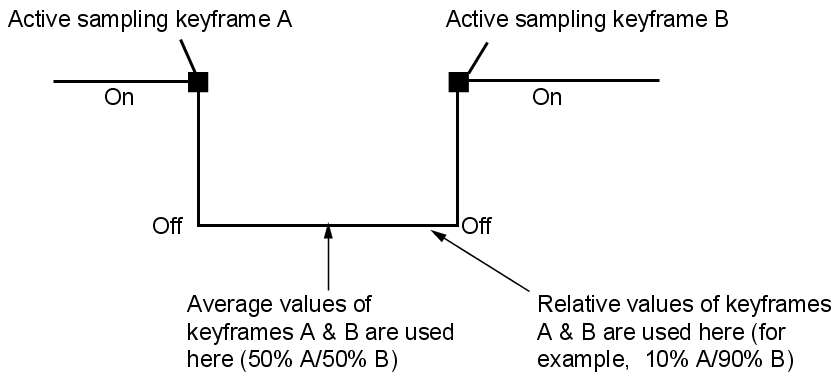
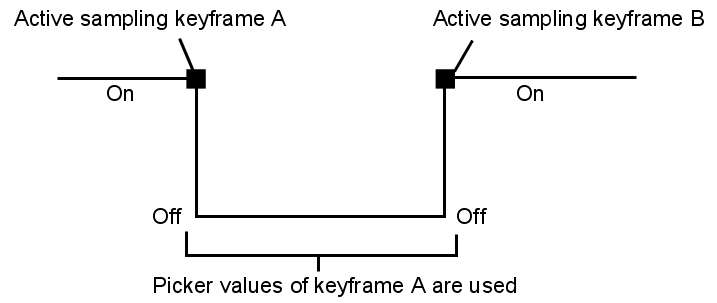
Two options are available to control how picker values (that is, the sampled colour values) are animated: Sample On and Interpolation mode.


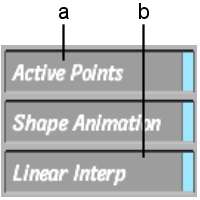
(a) Sample box (b) Interpolation button
Sample boxActive resamples picker values at every frame (the default). Passive disables resampling for one or more frames. When Passive at a particular frame, the picker values previously sampled at another frame are used. It is useful to adjust the size and position of pickers at one particular frame until the result is optimal, and then apply these values to other frames. In this way, if movement in the clip in other frames causes the area being sampled to move away from the pickers, you do not need to readjust the pickers to get a good reading.
You can select Active or Passive for one or more selected pickers.
Selecting Passive works best when colour values remain fairly consistent throughout the clip. In this case, one picker sampling will often be enough for the entire clip.
Typical technique for using Sample On: one sample is used for the entire clip

(a) Sample Off (b) Sample On (c) Sample Off
When there is more colour variation in the clip, you may need to take samples at several frames.
To use one picker sampling throughout a clip:
The sample values read at the frame you chose will be used to compute the softness for all other frames in the clip.
To take samples at several frames:
Interpolation buttonDisplays the interpolation between keyframes that have Active selected as the Sampling option.