Garbage mask files are created through the Keyer or by the GMask node in Batch. You can import a saved garbage mask setup into Action, and specify 3D properties, such as depth and geometry settings. If your garbage mask is animated, all shapes are imported into Action. Softness and offset settings in the imported garbage mask are not brought into Action. Any holes in the imported garbage mask are also holes in the 3D geometry. For help creating garbage masks, see Drawing a Mask.
Once you import a garbage mask as a 3D geometry into Action, use the GMask menu to extrude the garbage mask.


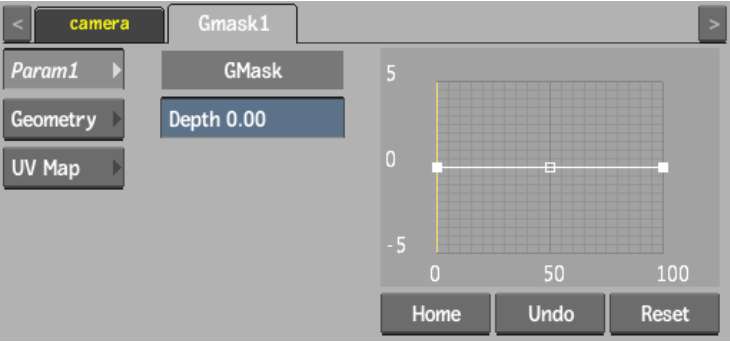
Depth fieldExtrudes the garbage mask, making it three dimensional. Use the depth setting in conjunction with the Axis controls to manipulate the garbage mask.
Bevel curveAdds a bevelled edge to your garbage mask geometry. Use the options in the Edit Mode box to add, select, delete, or move keyframes on the Bevel curve. The Bevel curve behaves in much the same way as an animation curve in the Channel Editor.
Home buttonResets the Bevel curve viewer to show the whole curve.
Undo buttonUndoes Bevel curve operations.
Reset buttonResets the Bevel curve.
Click the Geometry and UV Map tabs to apply any of the other geometry settings to your garbage mask. See Working with 3D Geometry for definitions of the specific Geometry and UV Map controls.


