As you add nodes, you connect them to the process tree by linking the result from one node and using it as a source (front, matte, or back) for the next node in the process tree. You can also connect by linking backward from the source of one node to the output of another (to reuse a node’s output). Exceptions are the BFX Output, Output, and Export nodes: you cannot link from their result.
To connect nodes, you use the coloured tabs on the node's left side; these tabs are called source tabs. The colours of the source tabs correspond with the cursor colours when selecting clips from the Desktop reels. The yellow tab on the node’s right side is called the Result tab. You use the Result tab of a node to connect its result to the front, back, or matte tab of another node.


(a) Matte tab (b) Back tab (c) Front tab (d) Warning tab (e) Result tab (f) Cache tab
If auto display of tooltips is enabled in the Preferences menu, hover over a tab to see the name of the tab. If you have disabled the auto display of tooltips, press and hold Alt+Ctrl+spacebar and hover over the tab.

Node source tabs are described in the following table.
| Tab | Colour | Description |
|---|---|---|
| Front | Red | Connects a front clip to a node. |
| Back | Green | Connects a back clip to a node. |
| Matte | Blue | Connects a matte clip to a node. |
| Audio | Grey | Connects a clip with audio to an Output node. |
| Result | Yellow | Connects the result of a node to other nodes. |
| Output Matte | Blue | Connects the output matte of a node to other nodes. |
| Cache | Grey and yellow circle | Enables, disables, or sets cache as read only for the selected node. See Caching Frames. |
| Warning | Red circle | Warns that clip input to this node is unconnected or is missing media, or clips parented to this node do not share the same resolution or a compatible bit-depth. A message also appears in the message bar (press Alt+E and mouse over the node to display the message again). |
The available source tabs depend on the node. If the node accepts a front, back, and matte clip, all coloured source tabs are available. If the node only accepts a front clip, the red source tab is available and the other source tabs are grey. The Result tab is always available, except on the BFX Output, Output, and Export nodes. When a source tab or Result tab is not connected to a clip or to another node, the coloured tabs are dimmed.
There are several ways of connecting clips or nodes together. You can connect them manually or automatically. You can also quickly connect several nodes and clips together using the tap-tap feature.

Dragging from a clip to the front tab of a Logic Op
An arrowed line is drawn from the clip to the source tab. The colour of the line corresponds to the colour of the source tab to which the clip is connected.
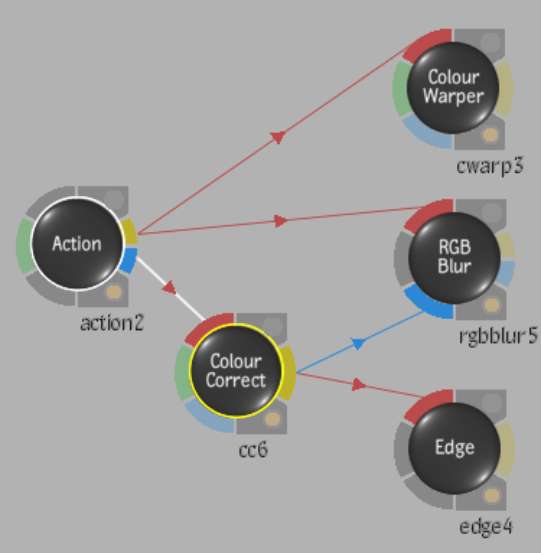
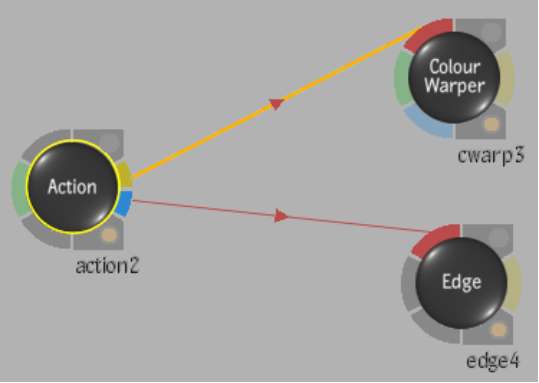
An arrowed line is drawn from the node to the source tab. For example, click the Result tab of the Colour Correct node and drag the cursor to the front tab of the Flip node to flip the result of the colour-corrected clip.

To connect nodes automatically:
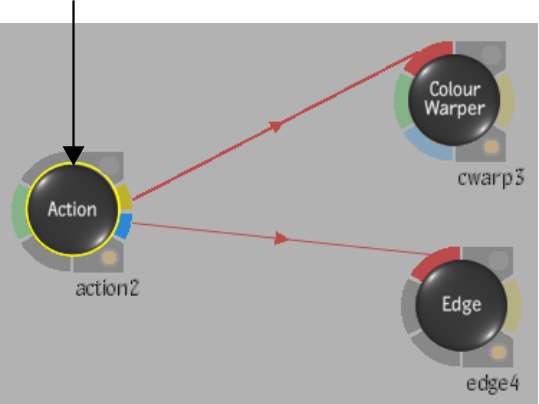
Action: Press and hold Shift while dragging the Negative node to the Keyer node

Result: The Keyer output is the front for the Negative node

For example, while pressing and holding Shift and dragging a Colour Correct node, pressing Alt once displays an extended red arm from the Front tab. Pressing Alt again displays an extended green arm from the Back tab; and pressing Alt a third time displays an extended blue arm from the Matte tab.
| Hold Shift and press Alt to extend the Front tab. | 
|
| While still holding Shift, press Alt again to extend the Back tab. | 
|
| While still holding Shift, press Alt a third time to extend the Matte tab. | 
|
To use Advanced Autolink and retain output links:

The links are disconnected from the original node, reconnected to the main output of the inserted node, and a new link appears between the original output and the chosen input of the inserted node.
To use Advanced Autolink to insert a node between existing connected nodes:
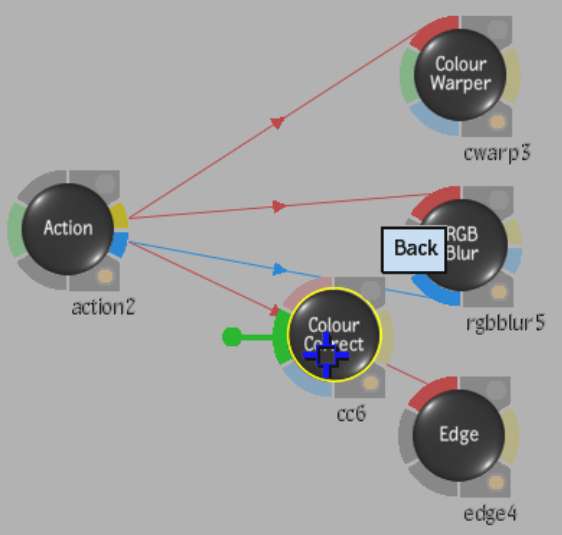
The node is inserted, while retaining the input and output connections.
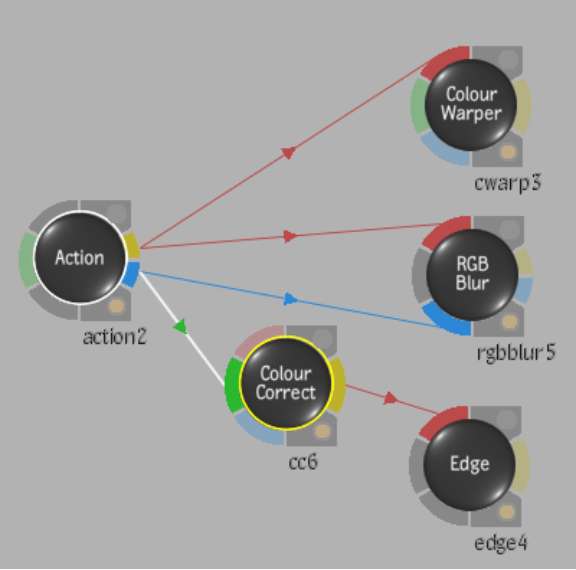
To add a node from the bin between existing connected nodes:
Each press of Alt highlights an output link in orange.
The node is added to the schematic, and is linked automatically between the desired nodes.

If the selected node is connected to multiple inputs, the insertion is done on all inputs. Once connected, the link colour returns to its default colour.
To create a node connection using tap-tap linking:
To simultaneously break a connection and add a new input:
The source tab's original link is disconnected and replaced with a connection to the new Result tab.


