Use this node to apply colour corrections to the front, back, or key-in clip using the Colour Corrector.
You can add Colour Correct nodes to any part of the pipeline except to the Front and Matte pipes of MBlend nodes and the Matte pipes of CBlend nodes. This is because these pipes are designed to produce a matte, and the result of the Colour Correct node is a colour image.
When using the Colour Corrector from the Modular Keyer, select a view from the Reference box and View box, while subsequently using the reference clip to compare your result. See Storing Reference Frames in the Reference Buffer.


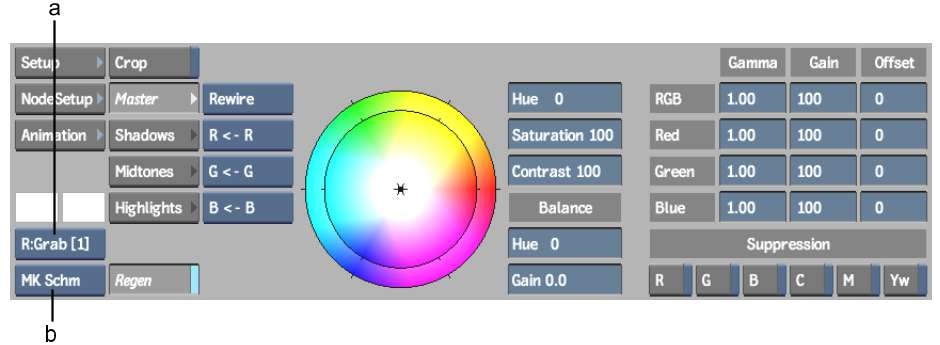
(a) Reference box (b) View box
The View box includes views for Context Point 1 and Context Point 2 while colour correcting the clip. See Setting a Context Point.
To use the Colour Correct node:
The Colour Corrector menu appears in the menu area. See Colour Corrector.


