You can use up to four layers in blend nodes to create the composite. Using layers, you can avoid doing multiple passes on the same composite.
Layers are processed upwards from the bottom layer. In other words, the uppermost layer will appear on top of the next layer, and so on.
The back component of the lowest layer is a pure black image (for MBlend nodes) and the node input image (for CBlend nodes). For additional layers, however, the back component is different. On both CBlend and MBlend nodes, the result image of the lowest layer is fed into the next highest layer to serve as its back component. Likewise, the result image of this layer is fed into the next highest layer where it serves as that layer's back component, and so on.
You can change the order of the layers using the Priority Editor.


The node is highlighted and the Blend Node menu appears.

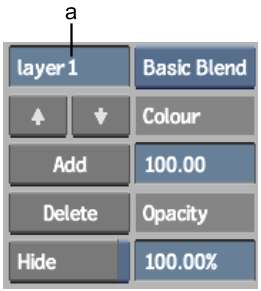
(a) Layer Name field (b) Add button
A new layer is added to the blend node, above the previous layer. The default name for the new layer is layer2.
A simple, two-layer MBlend node is shown as follows.

To change the order of the layers:
The selected layer's name appears in the Layer Name field.
(a) Layer Name field
 button to move the selected
layer up a layer, or the
button to move the selected
layer up a layer, or the  button to move it down a layer.


