When you load a clip into a BFX level, its timecode automatically keeps the timecode of the timeline one level up (main or BFX). Head frames are loaded as negative frames. You can use these extra frames to offset the starting frame of a clip. All subsequent clips brought into the same BFX level are loaded with head and tail frames intact.
Both the BFX timebar positioner and the clip timeline positioner represent the main timecode for the current frame. If you set record and source clips to edit material from one clip to another, the current time position of the source clip serves as an implicit in point. See Setting Record and Source Clips.
You can set the BFX timebar to display or hide head and tail frames. Display head and tail frames if you need the extra frames for editing or if you load subsequent clips that are longer in length. If you use the extra frames, you will have to trim out the clip when you exit back to the main timeline. If you offset a clip using the extra frames, the main timeline will reflect the new offset.
From main Batch, you can also display or hide the negative frames that result from offsetting the starting frame of a clip as well as offset clips to their record timecode.
To set the BFX timebar to display the frames defined by a clip’s in and out points:
The BFX timebar displays the range of frames of the clip as defined by the in and out points set on the main timeline.
In the following example, a clip (stop_sign) with head and tail frames is loaded into a BFX level from the main timeline at timecode 00:00:00:00. The head frames are loaded into the Offset field. The BFX timebar positioner is set at the beginning of the clip—frame 1. The BFX timebar does not show the head and tail frames.


(a) Head frame number (b) BFX timebar positioner (c) Clip length without head and tail frames (d) Head frames (e) Frames between in and out points (f) Tail frames
To set the BFX timebar to display a clip’s entire range of frames:
The BFX timebar displays all the frames of the clip brought in from the main timeline, including head and tail frames.
In the following example, a clip (stop_sign) with head and tail frames is loaded into a BFX level from the main timeline at timecode 00:00:00:00. The head frames are loaded into the Offset field. The BFX timebar includes both the head and tail frames. The BFX timebar positioner is set at the first head frame—negative frame 10.
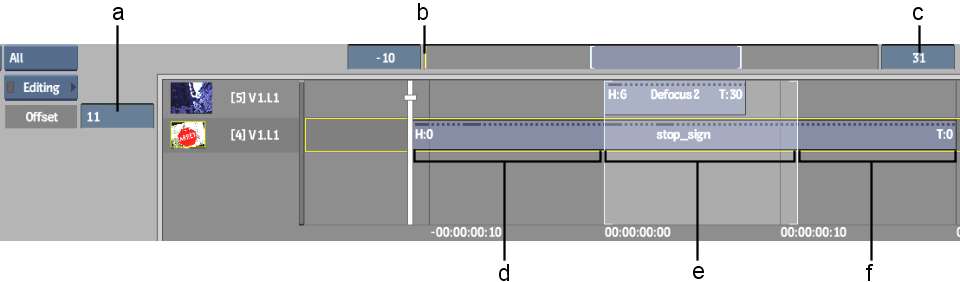
(a) Head frame number (b) BFX timebar positioner (c) Clip length including head and tail frames (d) Head frames (e) Frames between in and out points (f) Tail frames
Main Batch clips have a default frame length of 100. You can set the Batch duration to that of the loaded clip.
The first clip loaded into a BFX level determines the duration of that BFX level. If you load another clip, you can change the BFX duration to that of the new clip. The new duration applies only to that BFX level. Back on the main timeline, you must trim the clip to display its new length.
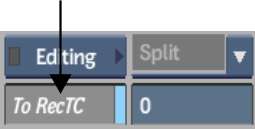
To offset a clip to its record timecode:
Note that the following clip was brought into Batch with a timecode of 00:00:00:10. The timeline positioner is set to frame 1.
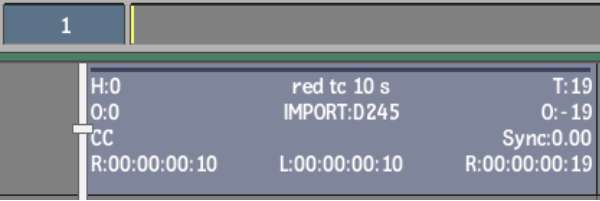
Frame 1 is offset to 00:00:00:00 to correspond to Batch time, as illustrated in the following example.
(a) Positioner at frame 1
To set the Batch timeline to display negative frames:

The Batch timeline positioner changes location to take into account negative frames resulting from the segment being offset before frame 1.
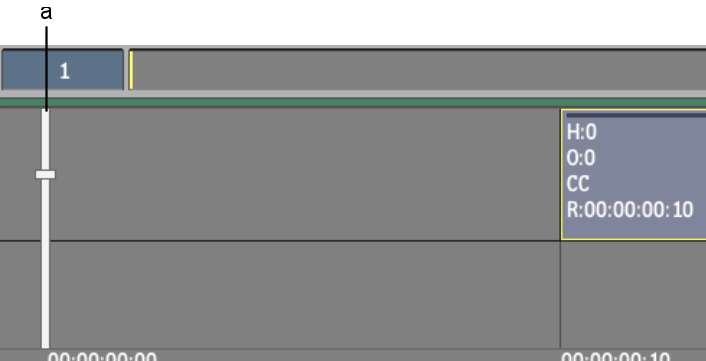
The following example shows the Batch timeline with Show Neg Frame disabled. The clip is offset by 10 frames. The negative frames are loaded into the Offset field. The Batch timebar positioner is set at the first head frame—frame 1.
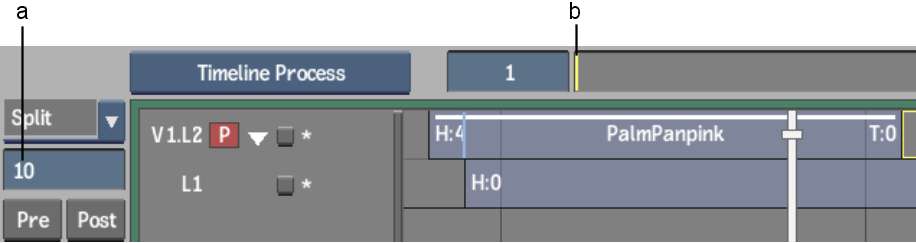
(a) Offset field (b) Batch timebar positioner
The next example shows the Batch timeline with Show Neg Frame enabled. The Batch timebar positioner is set at the first head frame—negative frame 9.
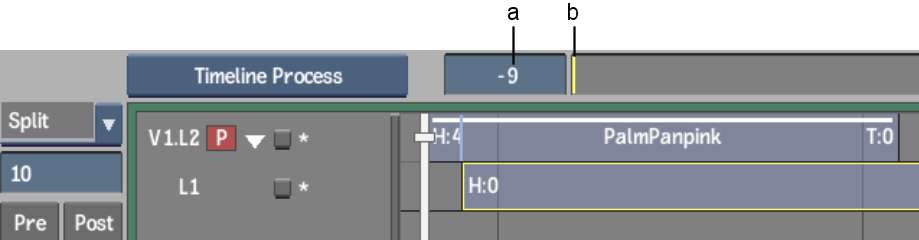
(a) First frame—negative frame 9 (b) Batch timebar positioner


