Viewing Colour Information
with a Vectorscope
In the Colour Warper, you can use a 2D or 3D vectorscope to help match colours, adjust shadows and highlights, view colour distribution, and ensure that broadcast standards are met. The vectorscopes show the changes you make to colour content in a clip or image.
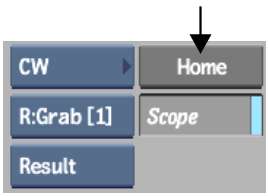
To view colour information in either the 2D or 3D vectorscope:


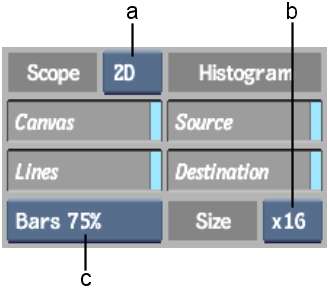
(a) Scope box (b) Size box (c) Bars box
2DDisplays the 2D vectorscope. Use the 2D vectorscope to analyse the colour content of the clip and locate specific colours in terms of their chroma values. When you view a clip in the 2D vectorscope, you see it in terms of hue and saturation. The size and placement of the colour squares in the 2D vectorscope show the distribution of all the colours in the clip—like a colour wheel; the distance from the centre to the perimeter of the scope maps colour saturation, with the outside edge of the scope delineating pure colour.
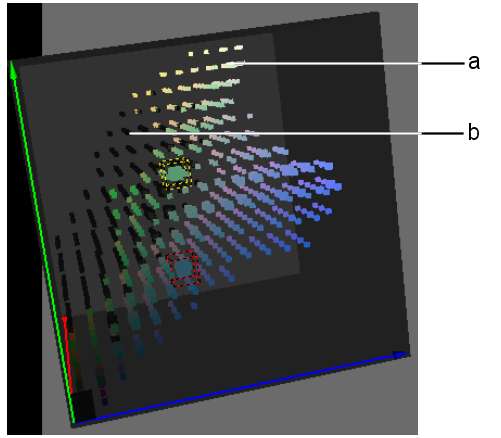
3DDisplays the 3D vectorscope. Use the 3D vectorscope to both analyse the colour content of the clip and to locate specific colours in terms of their chroma and luma values. When you view a clip in the 3D vectorscope, you see it in terms of HLS (hue, lightness, and saturation). Its X, Y, and Z axes represent red, green, and blue, and the size and placement of the colour cubes show the distribution of all the colours of the clip in RGB colour space.
The selected vectorscope is displayed in the image window. As you scroll through a clip, the histogram is updated to display the colour distribution of each frame.
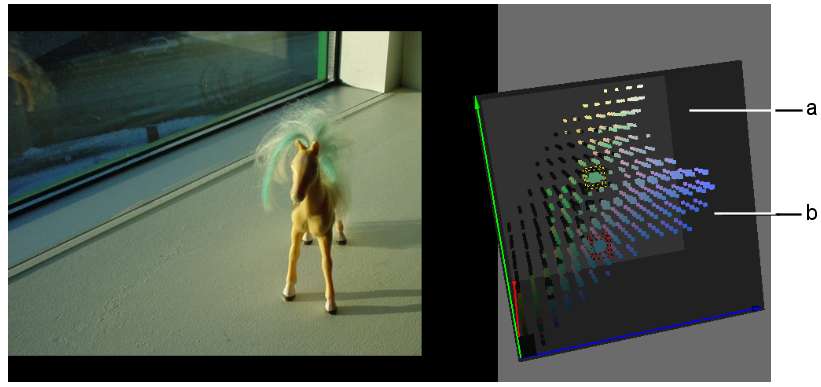
(a) 3D vectorscope (b) 3D histogram
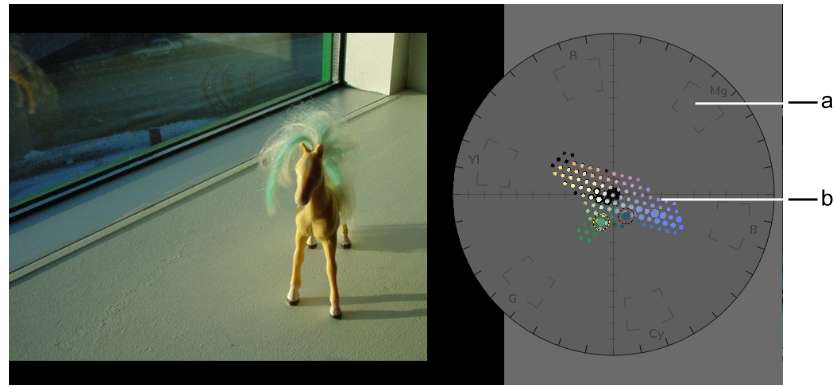
(a) 2D vectorscope (b) Histogram
| Enable: | To: |
|---|---|
| Canvas | Show the vectorscope canvas. When the canvas is off, the vectorscope is transparent, but can be outlined. |
| Lines | Show the vectorscope outline. |
| Enable: | To: |
|---|---|
| Source | Show a histogram of the colour values in the front, or source clip. The source colour values are obtained from the current frame. If you input both front and matte clips, the colour values in the front clip that are defined by the white part of the matte are displayed. |
| Destination | Show a histogram of the colour values in the result clip. The destination colour values are obtained from the current frame. If you input both front and matte clips, the colour values in the front clip that are defined by the white part of the matte are displayed. |
When both Source and Destination are enabled, you see both the source and destination colour values. The source clip's colour values are displayed in black and the result clip's colour values are displayed in colour. When only Source is enabled, the source clip's colour values are displayed in colour.
(a) Result clip (in colour) (b) Source clip (in black)
| Select: | To match: |
|---|---|
| Bars 75% | 75% SMPTE bars. If the current project is NTSC, the bars are set to 75% by default. |
| Bars 100% | 100% SMPTE bars. |
The parameters of the histogram of the 2D vectorscope update accordingly.
Use these other shortcuts to interact with the vectorscopes.
| Press: | To: |
|---|---|
| Alt-drag | Move the 2D or 3D vectorscope |
| Shift-drag | Zoom the 2D or 3D vectorscope |
| Ctrl-drag | Rotate the 3D vectorscope. If you Ctrl-drag the 2D vectorscope, the 3D vectorscope appears and rotates. |