


Changing a Mask's Position,
Rotation, and Scaling
An Axis node contains all the rotation, scaling, and position data for the mask. You can change all this information in the Mask menu. The Axis controls are identical to those in the Action Axis menu. See Action: Axis.
You can track a point on your clip and apply that data to the axis of a piece of geometry or a hierarchy of objects. You can also track individual points on the mask. For information on tracking, see Tracking and Stabilizing.


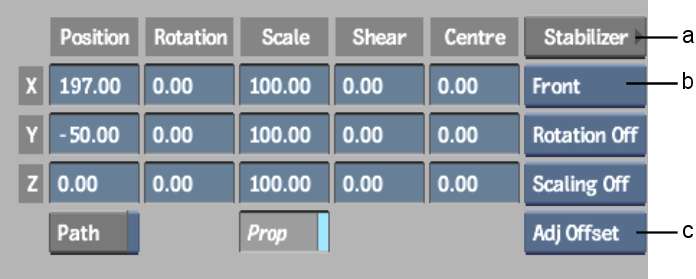
(a) S (Stabilizer) button (b) Layer box (c) Adjust option box
Select Adjust Offset if the selected mask is parented to one axis. Select Adjust Axis if the selected mask is parented to a hierarchy of objects.
Tracking Individual Points on a Mask
You can also track individual points on a mask so that portions of the mask follow a point in the clip. Each point you select is assigned a tracker box in the Stabilizer. The points are repositioned according to the reference point you set in the Stabilizer. For more information on using the Stabilizer, see Tracking and Stabilizing.
To track individual points on a mask:
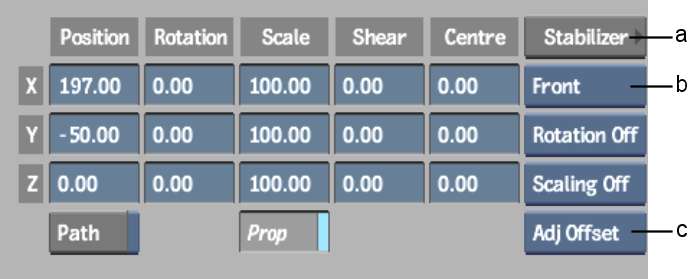
(a) S (Stabilizer) button (b) Layer box (c) Adjust option box
Select Adjust Tangents if you want the tangents for the selected points to be adjusted while the points are being tracked.
The Stabilizer appears. A Tracker button appears for each selected vertex.
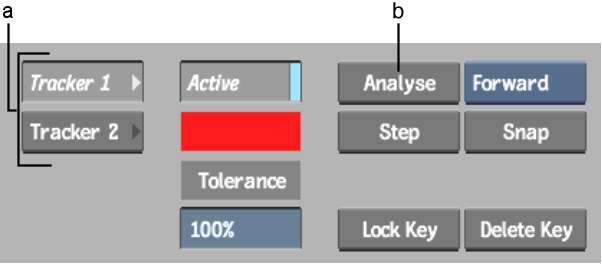
(a) Tracker buttons (b) Analyse button
Fine-tune your analysis if necessary. For example, disable problem trackers and analyse again.