You can arrange selected clips in the Source Area.
To arrange clips in the Source Area:


| Select: | To: |
|---|---|
| Stack | Stack the clips one on top of the other. The clips are stacked under the focus clip. There is no indication of how many clips are in the stack. |
| Tile | Arrange the clips in a linear tiling pattern with the first clip selected appearing on the bottom left. If space runs out in the Source Area, the tiles overlap. |
| Cascade | Arrange the clips in a cascading pattern, which is similar to a stack except that there is a significant offset, so you can see the underlying clips. The focus clip appears at the top of the cascade. If one or all clips are selected, the origin of the cascade is the lower-left corner. Otherwise, the origin of the cascade is the focus clip position. |
You can add a grid to the Source Area. Proxies snap to this grid, allowing you to align them. When you move proxies, the left and bottom edges of the proxies snap to the grid.
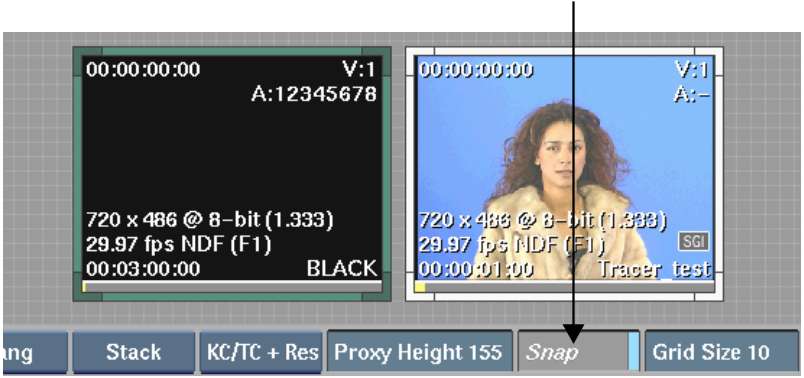
For more information, see Working with Grids and Guides.


