In Resize, you can display two viewports at a time in the image window. Multiple views are convenient for setting channel values and previewing your results all at the same time without having to switch views.


| Select: | To view: |
|---|---|
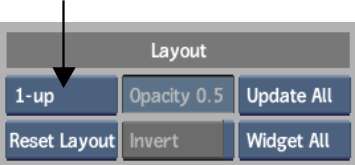
| 1-up | A single viewport (Alt+1). |
| 2-up | Two viewports, side-by-side (Alt+2). |
To display views in multiple viewports:
Displaying Widgets in Selected Viewports
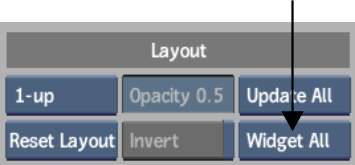
If you are working in multiple viewports, you can display widgets such as icons, crop boxes, and 3D histograms in all viewports or in a selected viewport.
When you select a multiple viewport layout, a default layout appears, and each viewport is set to display a default view. You can change both the default layout and the views in each viewport to suit your needs.
To change the default viewport layout:
| Select: | To: |
|---|---|
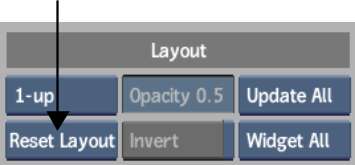
| Reset Layout | Restore the default layout for the current viewport layout option. You can also Alt-click a viewport border. |
| Reset All | Restore the default layout for all viewport layout options. |
Synchronizing Current Frame Display Across All Viewports
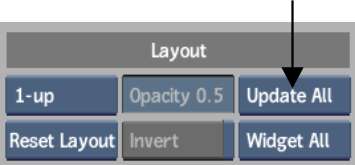
By default, when you scrub or jog a clip, only the current viewport (a yellow border indicates the current viewport) is updated. The other viewports continue to display the last frame at which they were parked until you release the cursor. However, you can set all viewports to be updated in sync with the current viewport.
To synchronize the current frame display across all viewports:
| Select: | To: |
|---|---|
| Update All | Update all viewports to display the same frame as the current viewport. |
| Update Sel | Update only the current viewport. Other viewports continue to display the last frame at which they were parked only once you release the cursor. |