You can export a clip or a single frame a clip library to the filesystem or a storage device.
After you have exported a clip, you can use it on other platforms
(for example, Macintosh or Windows®).
When you export a clip
to the filesystem, each frame in the clip is saved as a separate
image file. The images are assigned sequential numbers that are
appended to the filename.
The procedures for exporting
image files from the clip library are presented
here.
To export an image file:
- Open the clip library containing the
clip that you want to export.
- Select the clip.
- Click Export Image.
The Export Image menu
appears.
- In the file browser, browse to the directory
where you want to export the clip.
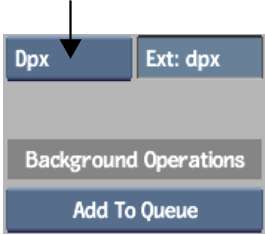
- From the File Format box, select the
export file format.
- Optional: Change the default file extension.
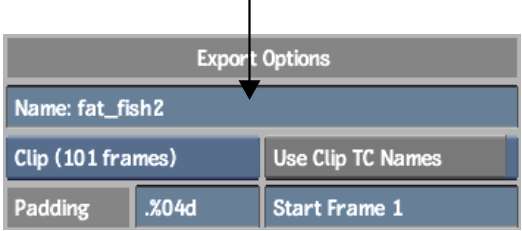
- To change the name of the exported image
file, enter a name in the Name field.
NoteTo avoid filename
compatibility issues upon export, underscores will be substituted
in your filename in place of any of the following characters: `
# ~ @ $ % ^ & * ( ) [ ] { } < > \ | / ! ? , ; : ' "
- In the Frame/Clip box, specify whether
you are exporting a single frame or a clip.
- Adjust any other parameters for file
numbering, compression settings, resizing options, or to use a predefined
LUT. See
Export Options Group,
Quality Group,
or
Resizing Group.
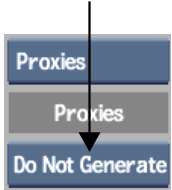
- To generate thumbnail proxies for the
file browser, select an option from the Proxy Generation box. See
Proxies Group.
- Click Export.
The files are generated
and saved in the specified location.
When the export is finished,
you are returned to the clip library.