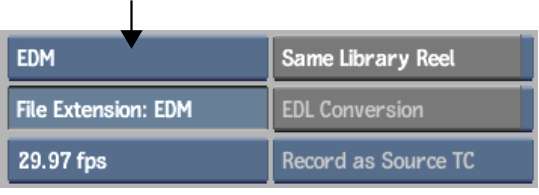
You can import EDLs and setup information into your projects using EDM and AUX files exported from edit 6.0 (or later). You only need to import the EDM file—the AUX files are read automatically during the import of the EDM file. The EDM and AUX files must be located in the same directory.
When you first import the EDM file, each edit Video track and Sub-Timeline is a separate EDL. To work with the imported EDLs, you must multi-assemble them into one master EDL, applying the Convert EDM and Assemble Selected EDLs commands. This allows you to capture all the associated material at the same time.
When you assemble the EDLs, the associated Video tracks are converted into layers, Audio tracks are converted into audio tracks, and Sub-Timelines are converted into containers. Colour Correction, Text (Inscriber®), and other effects from Combustion® are converted into setup files and associated with the appropriate timeline element. CG Inscriber text may be imported and converted into a Text setup.


The EDLs included in the EDM file are loaded and the setups in the associated AUX files are converted and copied into the setup directories of the current project.
All the EDLs belonging to the EDM file are selected and assigned to containers or layers in a track, in the order found in the original EDM file.
The edit tracks are assembled into corresponding layers, Sub-Timelines are assembled into containers, and the setups are associated with the appropriate timeline elements.
The assembled clip appears in the library reel you specified.