You
can automatically digitize material using instructions contained
in an EDL, and then assemble the digitized events into a cut which appears
in the Storyboard and the timeline.
You can batch digitize
from an EDL that has been placed in the current scene's sacc_data directory. This directory
is located under <HOME>\<scenename>\.
To capture from an EDL:
- Make sure your EDL file is in the scene's sacc_data directory.
NoteIf the file is in
the wrong location, it will not show up in the EDL list.
- Click Editing, and then click Capture.
- Select a raster for capture. See
Selecting a Raster for Capture.
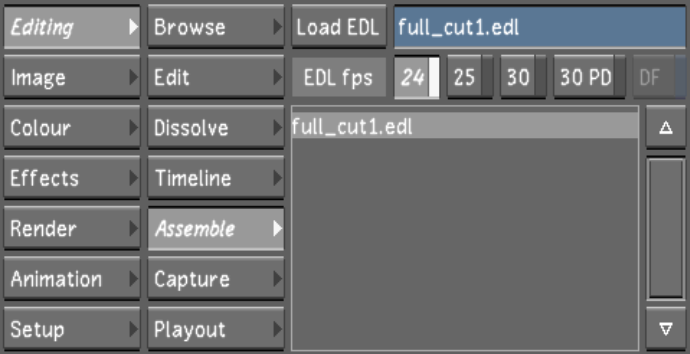
- Click Assemble to access the Assemble
window.
- Select an EDL file from the EDL list. Ctrl-click the EDL list to refresh
it.
- Click Load EDL to display the EDL contents
in the Assemble menu.
- Select individual events to capture (Ctrl+click), a group of events (Shift+click), or click Select All.
- Click Mark for Capture.
The selected events are
marked as Need Capture under the Media column of the EDL events.
- Click Capture.
- In the Video Capture Format list, select
the file format that you want to create during the capture operation.
See
Capture Menu Options.
- In the Naming group, enter values in
the Capture and Tape fields. See
Capture Menu Options.
- Click EDL once, and then confirm the
action by clicking EDL a second time.
The Capture starts.
- When capture is completed, add the new
shots to the Shot bin. See
Loading Shots into the Shot Bin.
- Go back to the Assemble menu and assemble
the EDL. See
Assembling an EDL.
- Click Browse to display the Browse menu.
- Enter the name for the new cut in the
Cut name field.
- Click New.
The new cut is saved
and named after the captured EDL.