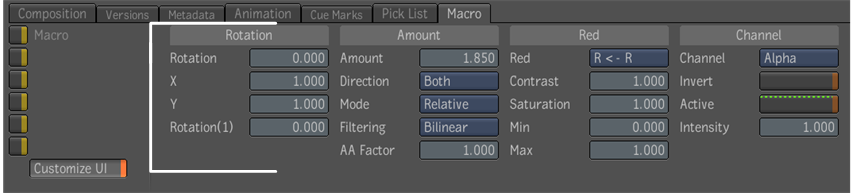
To customize the Macro super tool:
- Once you have added tools to the Macro super tool, click the Customize UI button.
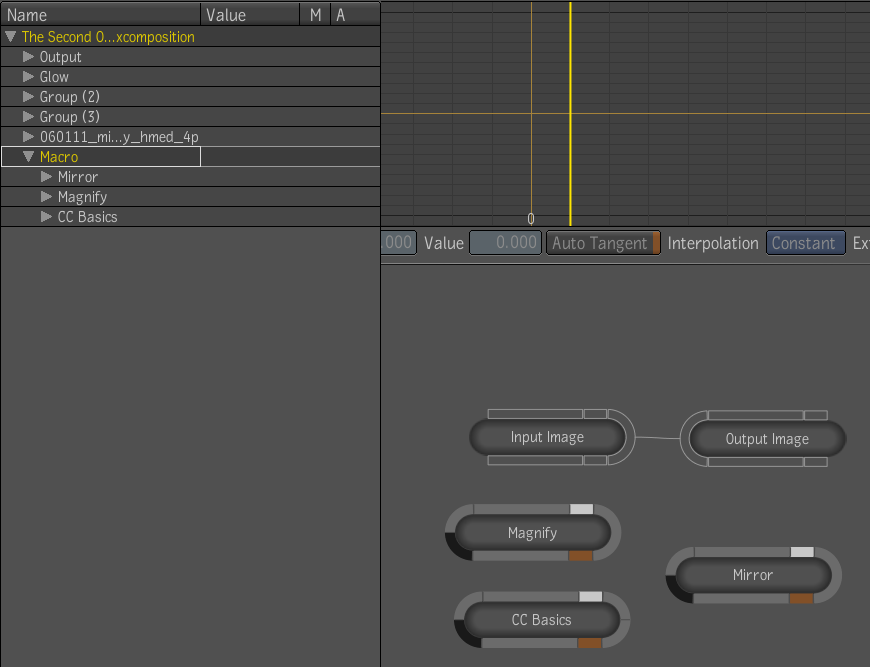
- Open a Composition view. Middle-click your mouse or press the tilde (~) key to open the Gate UI. Then swipe east.
- Click the View tab. From the View tab, drag a Composition view into a viewport. Once the Composition view is open, you will
see a Macro sub-menu.
- Click the Macro sub-menu to reveal the tools that you added to the Macro super tool.
- Now you can open each tool individually and load the tool inputs that you want into the Tool UI of the Macro super tool.
You can do that by dragging and dropping tool inputs from the Macro sub-menu of the Composition view into the Tool UI of the
Macro super tool. As you drag tool inputs into the Tool UI, either a green arrow or a red x will appear, indicating whether
it is possible to drag the input into the Tool UI or not.
Note
- Animation data and other nodes cannot be dragged into the Tool UI.
- You can add as many inputs as you like, however if there are too many inputs, some of them will be hidden at the bottom of
the pane.
- Remove an input at any time by right-clicking it and selecting Remove.

- Rename an item by double-clicking its name and entering a new name in the field.
- Click the Save button in the Tool options area to save your Macro as a preset. You will be required to give the preset a
name.
See Accessing your Macro as a Preset for information on how to load a saved Macro preset.
 Except where otherwise noted, this work is licensed under a Creative Commons Attribution-NonCommercial-ShareAlike 3.0 Unported License