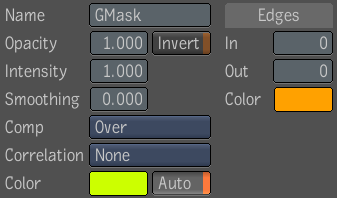
When you select a Creation tool, default values for future masks are made available for modification. These default values are initially set to the previously saved values. You can reset default values in each Garbage Mask tab by selecting the Factory Default button—see User Settings. You can change the following parameters once a Creation tool is selected:
To create a shape using the Freeform tool:
Once the first control point has been created using the Freeform tool, the garbage mask is automatically set to edit mode.

| Use: | To: |
|---|---|
| From Center | Click and drag the cursor to draw the mask from the center of the first mouse/pen click. |
| Unconstrained | Create an unconstrained mask. Click and drag to draw and change the shape of the mask. |
| Square | Click and drag to draw a perfect square. |
| Fixed Size | Create a rectangular mask based on width and height values you set. Once the values are set, click the location in the image you want the shape to appear. |
| Proportional | Create a rectangular mask based on width and height proportions you set. Once the values are set, click and drag to create the shape. |

| Use: | To: |
|---|---|
| From Center | Click and drag the cursor to draw the mask from the center of the first mouse/pen click. |
| Unconstrained | Create an unconstrained mask. Click and drag to draw and change the shape of the mask. |
| Square | Click and drag to draw a perfect circle. |
| Fixed Size | Create an elliptical mask based on width and height values you set. Once the values are set, click the location in the image you want the shape to appear. |
| Proportional | Create an elliptical mask based on width and height proportions you set. Once the values are set, click and drag to create the shape. |
 Except where otherwise noted, this work is licensed under a Creative Commons Attribution-NonCommercial-ShareAlike 3.0 Unported License


