


Learning Resources > Tutorials > Getting Started with Maya > File Referencing > Lesson 1: Using file references >
Storing animation as reference
edits
In the previous steps you tweaked an existing animation and exported those tweaks so that you could apply it to other references with the same animation. However, you can go one step further than this and export entire animation sequences as reference edit files.
A plain skeleton with no animation is referenced into the scene.
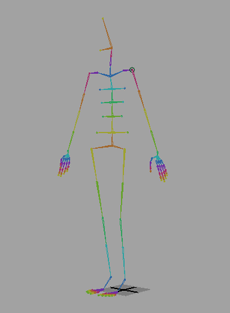
The skeleton you’ve referenced is very similar in structure to the zombie’s skeleton. However, the asset is not exactly the same. Most notably, this skeleton is missing some joints and its rest pose is not exactly the same as the zombie’s.
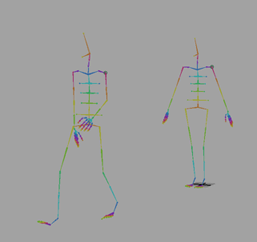
You will now animate this skeleton as a series of reference edits. To save time, we have provided you with an animated skeleton that you can transfer attributes from. This has the same effect as if you had animated the skeleton by hand.
An identical skeleton performs a runway model-like strut and strikes a pose.
 + select
model_skeleton_noanim:walk_rig_AST.
+ select
model_skeleton_noanim:walk_rig_AST.
 .
.
Although it looks like nothing changed, notice that model_AST is now animated, while model_anim_AST remains still.
You are now ready to export the reference edits.
The file runwayStrut.exportMA now contains the edits necessary to turn any skeleton asset with matching attribute names into a runway strut. You can store this file for you or anyone else to use on any skeleton you create in the future.
Now you are ready to use the runway animation in the graveyard file.
To prepare for the next part of the tutorial, re-open the graveyard4.ma scene ( File > Open Scene). You do not need to save the current scene.