Lesson 1: Converting the
pants to nCloth and setting up the simulation
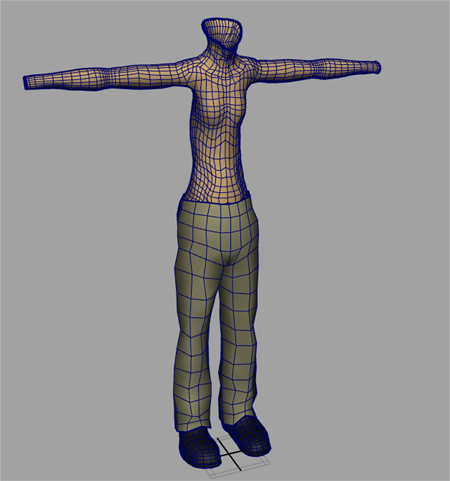
Before setting up the simulation environment, you need to convert the low resolution pants mesh (Pants_LowRes) to an nCloth object. When the nCloth object is created, an nClothShape and a Nucleus node are created. You can then set up the simulation environment.
Converting the pants to nCloth
To convert the pants to nCloth

If other objects are displayed, such as the Shirt_LowRes object, hide them by selecting each object in the Outliner and selecting Display > Hide > Hide Selection.
 .
.
The Create nCloth Options window appears.
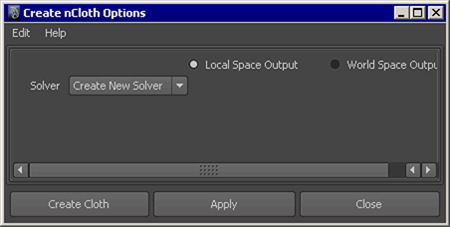
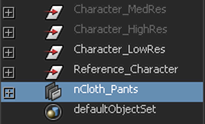
The low resolution pants are converted to an nCloth object, and its Maya Nucleus solver is created.
 .
. 
When you playback the simulation, you notice that the nCloth is not responding to the Nucleus forces, meaning it is not being simulated. In the next steps, you adjust the scene’s start frame so that your nCloth is simulated.
Before you begin simulating nCloth, it is important to adjust the Nucleus solver properties to suit your simulation. The Maya Nucleus solver properties control internal forces that affect all of the nodes that are members of a particular solver system.
One of the most important Nucleus solver attributes to be aware of is Space Scale. When Space Scale is set to its default value of 1, the Nucleus solver applies Gravity and Wind to objects as if the objects were scaled in meters. In some production pipelines, the geometry that is used in nCloth simulation is modeled as life size or in large scale, and so Space Scale needs to be adjusted to compensate for the difference in scale. For more information, see Space Scale.
Setting Nucleus solver attributes
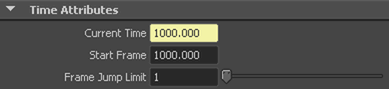
For this tutorial, the Time Slider settings specify the Playback time of the scene to start at frame 1000 and end at frame 1150. By default, the Nucleus solver starts simulations at frame 1. To begin simulating the scene, set the Start Frame of the simulation to frame 1000.
To set the simulation Start Frame
When you play back the simulation, you notice that the nCloth pants are falling under the influence of gravity generated by the Nucleus solver. However, they fall too slowly to be realistic. This occurs when the scale of the objects in your scene do not match the scale of the Nucleus solver system. Since the Nucleus solver simulates as if centimeters were meters, you need to adjust the Space Scale of the Maya Nucleus solver. In this scene, the character and clothing meshes have been modeled using centimeters as the Maya scene units. Therefore, to simulate your nCloth objects (which were modeled life-size), you need to set Space Scale to 0.01.

When you reduce the Space Scale attribute, Maya evaluates the pants as if they are a much smaller object. The result is a visibly increased gravitational affect on the nCloth pants object.
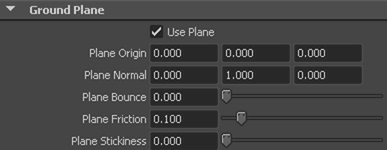
When you playback the simulation, you notice that the nCloth pants now fall from the start position at a realistic speed, however they are falling out of the scene. To stop the pants from falling out of the scene view, turn on the Nucleus Ground Plane.
To turn on the Nucleus Ground Plane
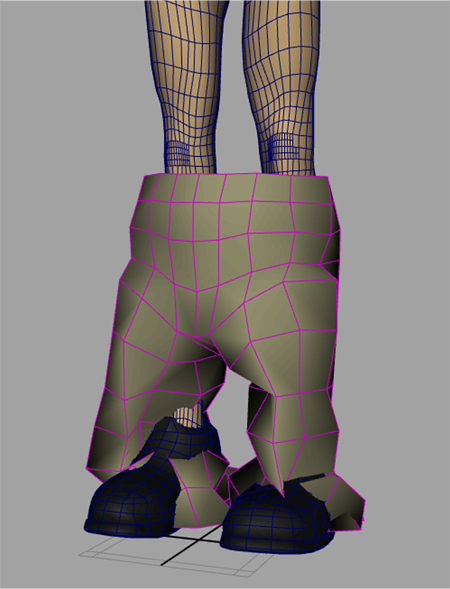
When you play back the simulation, you notice that the pants are not colliding with the body and shoe objects. This is because the body and shoe meshes are not yet part of the nCloth’s Nucleus system. In the next step, you convert these objects to passive collision objects.
Converting the body and shoes to passive collision objects
The last step in setting up the simulation is to convert the body and shoe meshes to passive collision objects. As passive collision objects, the body and shoe meshes will collide with the nCloth pants object.
To convert the body and shoe meshes to collision objects
 -select
the body and shoe meshes, and select
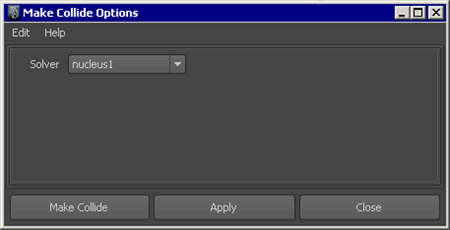
nMesh > Create Passive Collider > .
-select
the body and shoe meshes, and select
nMesh > Create Passive Collider > .
The Make Collide Options window appears.
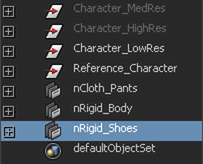
Two nRigidShape nodes (nRigidShape1 and nRigidShape2) appear in the Outliner.
. Do
the same for the shoes object by renaming nRigidShape2 to nRigid_Shoes.