User Guide > Rendering and Render Setup > Shading > Render node utilities > Use render
node utilities >
Use the Triple
Switch utility
For a description of the Triple Switch utility, see Triple Switch.
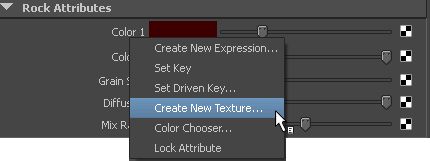
Lets you map different textures to several objects in a scene. You can switch any triple float attribute, such as RGB out colors.
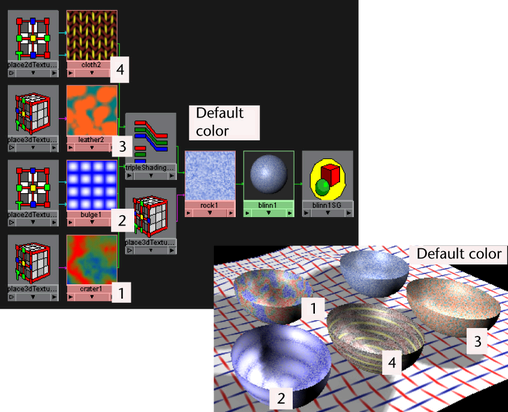
In the following, a Rock texture is initially mapped to the objects (simple revolved surfaces that look like bowls) because a grainy texture is required. The other textures you map onto the selected objects retain this grainy texture while displaying their specific texture attributes.
To use the Triple Switch utility
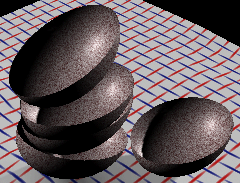
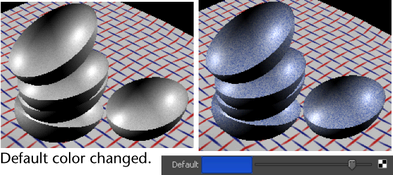
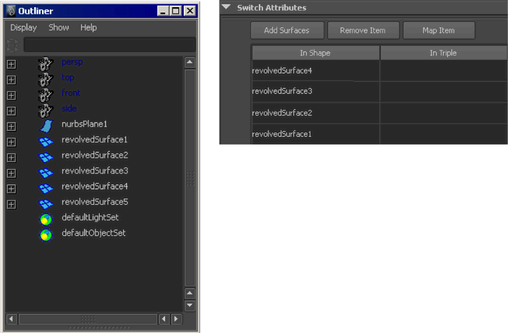
Only four of the bowls in the following are to be texture mapped. The top bowl retains the Default color setting.
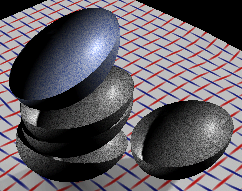
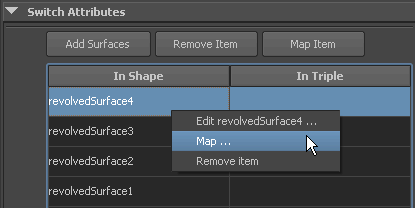
The following shows the four bowls and the textures mapped to them in the Switch Attributes editor.
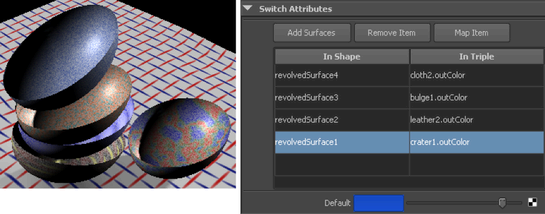
Adjust the textures for each item if necessary. The following gives you a better idea of how the textures are mapped to the bowls and how the connections display in the Hypershade.