- From the Visor, select
the brush named fanCoral.mel.
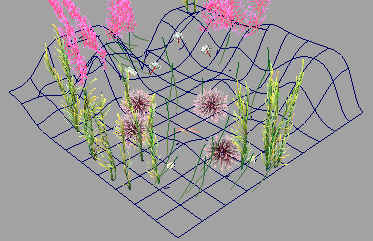
- Paint a few fan coral strokes in your
scene near the back edges of the plane.
TipIf you paint a stroke
in your scene and want to delete it you can do so by one of the
following methods:
- Press
Ctrl + z to immediately undo the stroke.
- Click on the stroke to select it and
then press the Delete key.
- Marquee-select a tube associated with
the stroke and then press the Delete key.
- Marquee-select multiple tubes and strokes
and then press the Delete key.
If you want to delete
all the paint strokes in your scene you can select
Edit > Delete All by Type.
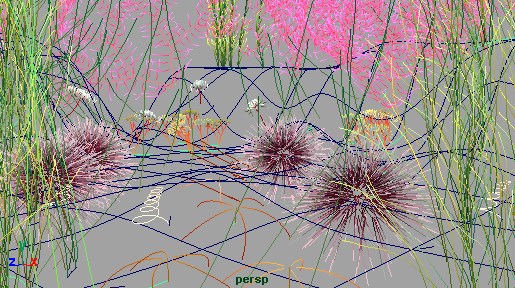
- Paint additional strokes in your underwater
scene using a few of the following brushes found in the underwater
folder in the Visor:
- sea urchins, starfish, seashells, and
anemones
- Dolly and track the scene for a closer
view so it appears approximately as shown.
- In the main menu, select
Window > Rendering Editors > Render Settings (or
click the Render Settings icon on the
Status Line) to display the Render Settings window.
- In the Render Settings window,
do the following:
- Select Maya Software from
the Render Using drop-down list.
NoteWhen rendering Paint
Effects strokes, use the Maya Software renderer.
Paint Effects strokes are not supported by the mental ray for Maya
renderer.
- In the Image Size section,
select 320×240 from the Presets drop-down
list.
- From
the Status Line, click the Render
Current Frame button.
- The renderer executes, renders the image,
and then displays it in the Render View window.
You can create a seabed
texture for the plane primitive, a few rocks, and some animated
fish swimming to complete your scene.
You can spend additional
time to further refine this scene, but this example gives you an
idea of how a scene with various 3D props can be quickly established
using Paint Effects and the various
preset brushes found in the Visor.