Learning Resources > Tutorials > Getting Started with Maya > NURBS Modeling > Lesson 3: Lofting curves
to create a surface >
Creating profile curves
for a surface
You begin the lesson by creating a pair of profile curves. You then create several copies of these curves to form the skeletal contours of the salt shaker’s surface.
To create profile curves for the salt shaker’s body
 . In
the options window, select Edit > Reset Settings,
enter the following values, then click the Apply button:
. In
the options window, select Edit > Reset Settings,
enter the following values, then click the Apply button:
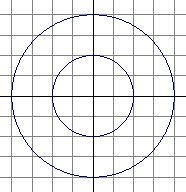
The Radius sets the size of the circle in grid units. A value of 4 creates a circle with enough size so that you can use the grid for convenient size comparison.
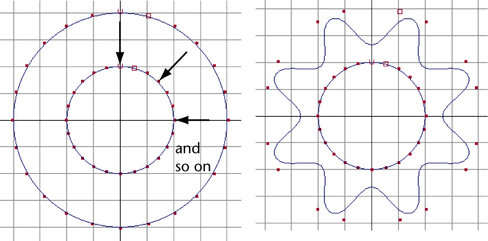
The Number of Sections sets the number of CVs in the circle. By using 24 CVs, you can create a circle with the subtle contours required in this lesson. Display the CVs of the circle to see the 24 CVs.
A circle is a curve that loops back on itself. The CVs work the same way as for any other curve. The more CVs you create for a curve or surface, the more detail you can give its shape.
The drawback to using many CVs is that you’ll have a harder time making smooth shape changes to broad regions. Also, more CVs means slower processing time as you work with the curve. It’s best to make curves with as few CVs as necessary. With experience, you’ll learn how many CVs to use in a situation.
This creates a smaller circle inside the first circle as shown below.