


Learning Resources > Tutorials > Getting Started with Maya Unlimited > nParticles > Creating a liquid simulation with nParticles >
Lesson 1: Creating a Water style nParticle object
In this lesson you learn how to:
The first step in creating a liquid simulation is to create a water style nParticle system, which will be constrained to the modeled polygon water pitcher. You can do this using the Fill Object nParticle creation method.
To ensure the lesson works as described, do these steps before beginning:
This file can be found in the GettingStarted directory that you set as your Maya project:
GettingStarted/nParticles/Liquid_Simulation_1.mb
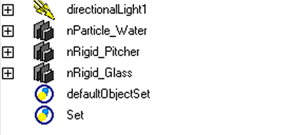
This scene includes textured models that have been created for you. The desk, water pitcher, and water glass provided are all polygon meshes. The water pitcher mesh is animated so that it lifts off the desk, tips as to pour into the glass, and then sets back down to the desktop.
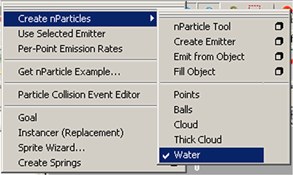
Create a Water style nParticle
Using a Water style nParticle will presets some nParticleShape attributes, including Liquid Simulation attributes, as well as set the Particle Render Type to Blobby Surface.
To create a Water style nParticle object
Selecting Water presets some nParticleShape attributes for liquid simulations.
 .
.
The Particle Fill Options window appears.
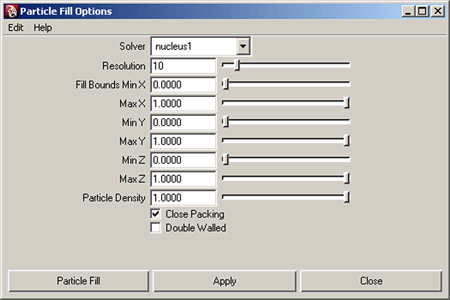
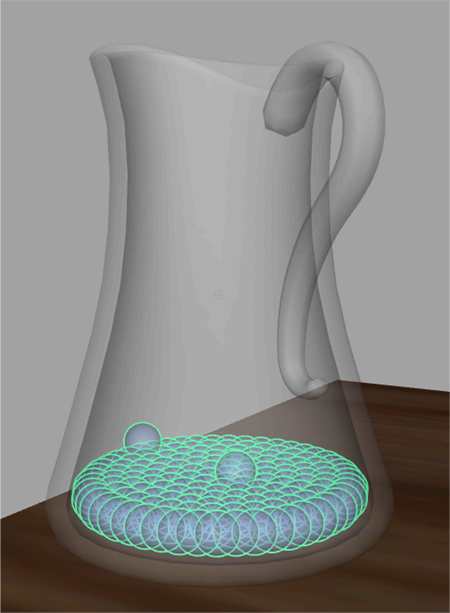
Resolution specifies how many nParticles are evenly placed along the fill geometry’s longest axis.
Turning on Double Walled ensures that the thickness of the pitcher's geometry is taken into account, meaning that the particles only fill the pitcher's empty volume, rather than between the polygon walls.
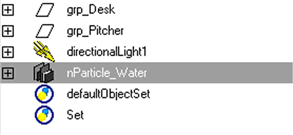
Renaming your nParticle object makes it easier to identify it when you have more than one in your scene.
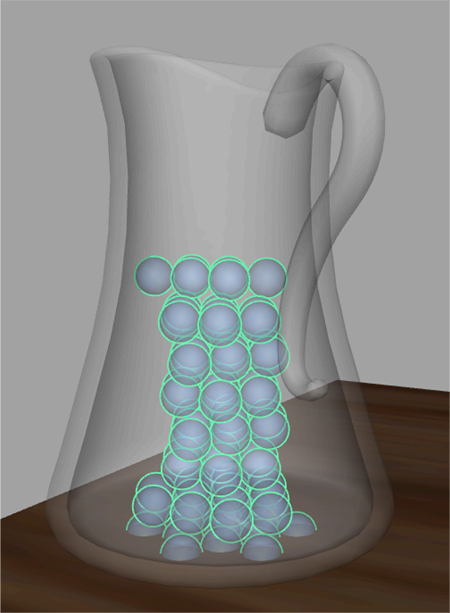
The nParticles fall through the bottom of the mesh water pitcher and disappear from the scene. This is because the nParticles do not recognize the object they are contained in.
In this tutorial, as you simulate the pitcher pouring water into the glass, both the pitcher and glass meshes must be converted to passive collision objects.
Creating passive collision objects
For the nParticles to interact with the water pitcher mesh, it must be converted to a passive collision object and assigned to the same Nucleus system.
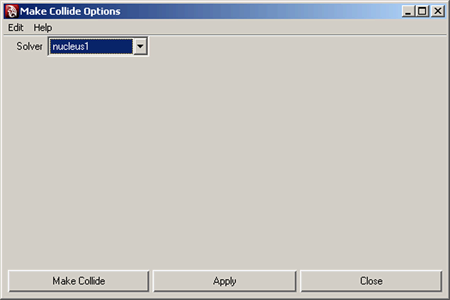
To convert the pitcher and glass meshes to passive collision objects
 -select
the pitcher and glass meshes.
.
-select
the pitcher and glass meshes.
.
The Make Collide window appears.
When you play back the simulation, you notice that the nParticles are not behaving as you might expect. Rather than immediately falling to the bottom of the pitcher like water, they fall slowly, as if the simulation was playing back in slow motion.
Before you begin simulating your liquid nParticles, it is important to adjust the Nucleus solver properties to suit your simulation. The Maya Nucleus solver properties control internal forces that affect all of the nodes that are members of a particular solver system. One of the most important Nucleus solver attributes to be aware of is Space Scale. When Space Scale is set to its default value of 1, the Nucleus solver applies Gravity and Wind to objects as if the objects were scaled in meters.

By reducing the Space Scale value, Maya evaluates the nParticle system as if they were much smaller in size. This will result in a visibly increased gravitational affect on the nParticles.
When you play back the simulation, you notice that the nParticles are now contained in the pitcher, but they occupy a small amount of the pitcher’s volume. Also, the nParticles appear to be pushing down as if they are under a force of pressure or compression. In the next section, you begin adjusting the Liquid Simulation attributes that make the nParticles look and behave like a liquid.
In this lesson you learned how to: