


Learning Resources > Tutorials > Getting Started with Maya Unlimited > nParticles > Creating a liquid simulation with nParticles >
Lesson 3: Create the water surface
To ensure the lesson works as described, do these steps before beginning:
This file can be found in the GettingStarted directory that you set as your Maya project:
GettingStarted/nParticles/Liquid_Simulation_3.mb
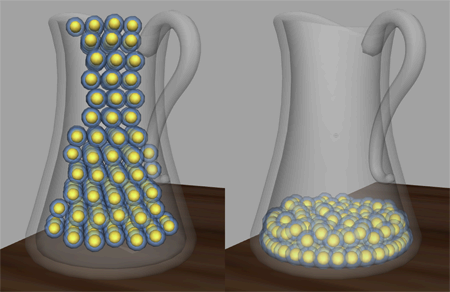
This scene includes textured models that have been created for you. The desk, water pitcher, and water glass provided are all polygon meshes. The water pitcher mesh is animated so that it lifts off the desk, tips as to pour into the glass, and then sets back down to the desktop.
Convert your nParticles to a polygon mesh
You can convert an nParticle object to a polygonal mesh, which you can then treat like any other polygon. For example, you can improve the quality and overall look of your liquid simulation by performing a polygon smooth operation on the nParticle output mesh. Polygon smoothing will increase the number of polygons in your output mesh to give it a smoother overall appearance.
Throughout this tutorial, when played back each simulation, you notice that the nParticles take some time to settle down before the pitcher animation starts. This occurs because, at frame 1, the Nucleus solver begins after the nParticles arrive at equilibrium by setting the initial state for the simulated nParticles. From frame 1 to 30, the nParticles react to this force, arriving at a state of equilibrium during the first 30 frames of the simulation. Be aware that any force exerted on the nParticles, such as the pitcher lifting off the desk, disrupts the equilibrium between the nParticles and the force of gravity.
You can specify that your simulation begins after the nParticles arrive at equilibrium by setting the simulation’s initial state.
To set the initial state of the nParticles
 -select nParticle_Water.
To convert your nParticle object to a polygon mesh
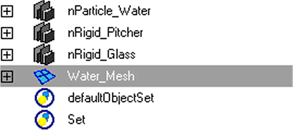
The PolySurface1 object appears in the Outliner, and a new polySurfaceShape node appears in the Attribute Editor.
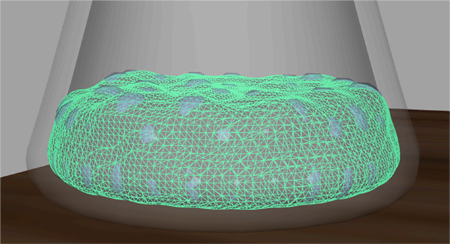
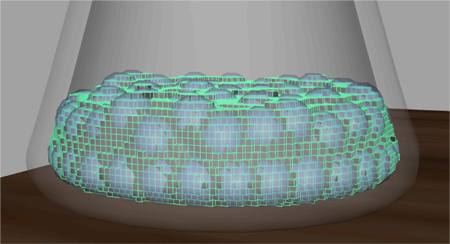
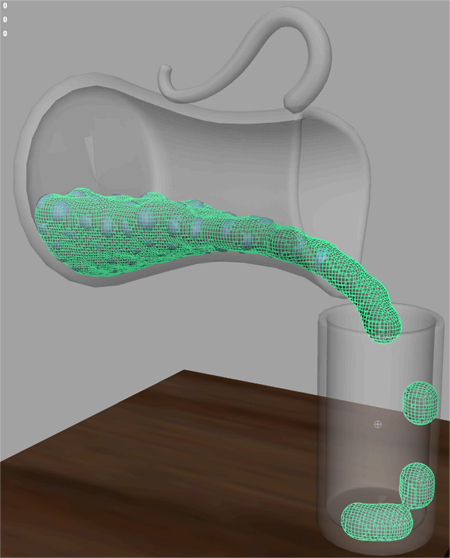
In the scene view, the nParticle output mesh superimposes on your nParticle object.
Selecting Quads will convert your nParticles to a quad-based polygon mesh. The Tetrahedra, Cubes, and AcuteTetrahedra coverts nParticle objects to triangulated meshes.Quad-based polygon meshes respond better to polygon smoothing than triangle-based meshes.

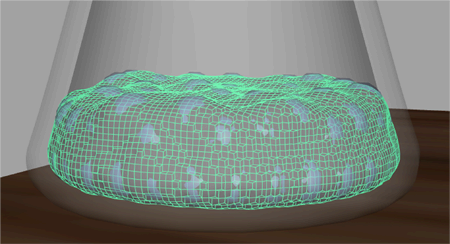
At this value, the nParticle output mesh is extending beyond the nParticle object’s collision width and penetrates the inner wall of the pitcher’s mesh.
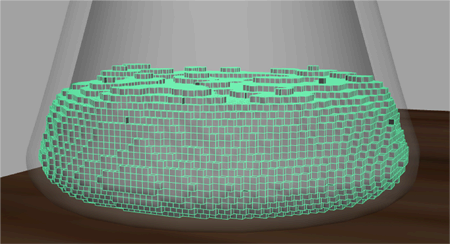
At this value, the nParticle output mesh is cutting into the nParticle object, and is no longer surrounding the nParticles.

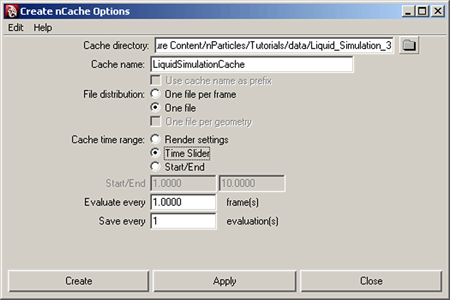
Cache your nParticle simulation
You will notice that since you converted the nParticle to an output mesh, the playback of the simulation has slow down considerably. This is due to the additional calculations required for nParticle and its associated output mesh. However, you can use Maya's nCache feature to cache the simulation and play the scene at full speed.
To cache your nParticle simulation
 .
.
In the next section of this lesson, you use the cached simulation to help optimize specific areas of the simulation.
Finishing your nParticle Liquid Simulation
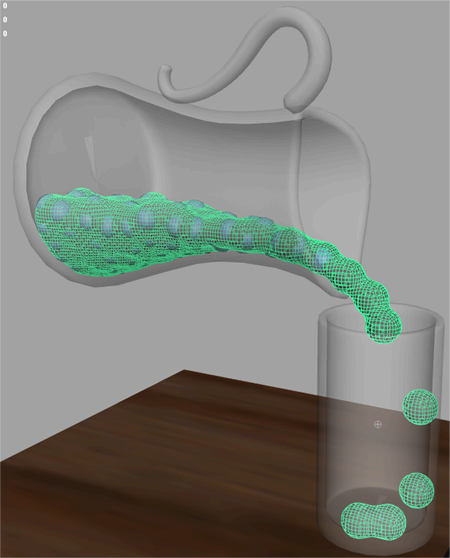
To finish the liquid simulation, you set the Motion Streak attribute to optimize the motion of the nParticles during the pouring sequence of the animation. You also add an ocean shader, which gives the water surface transparency and the reflective properties of water.
At this frame, you notice that the droplet mesh pouring into the glass look too spherical, almost like globs. The does not resemble the continuous flowing behavior of water when it is poured into a glass.
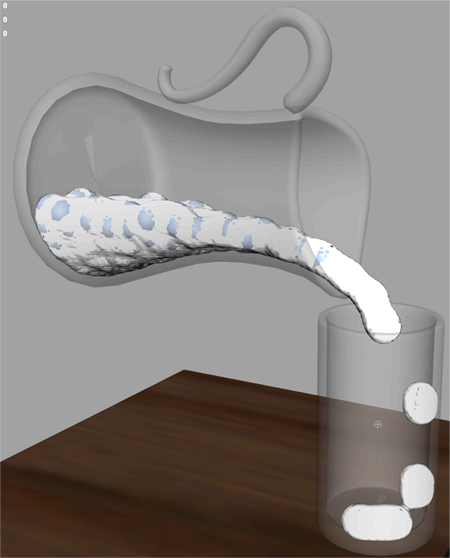
Maya updates the output mesh with the new setting.
The mesh looks more like water. In the last step of this lesson, you apply an ocean shader to the nParticle output mesh so that it has the transparency and the reflective properties of water.
To apply an ocean shader to the mesh
Your nParticle output mesh now appears white. To see the effects of the ocean shader, you need to render a frame of your simulation.
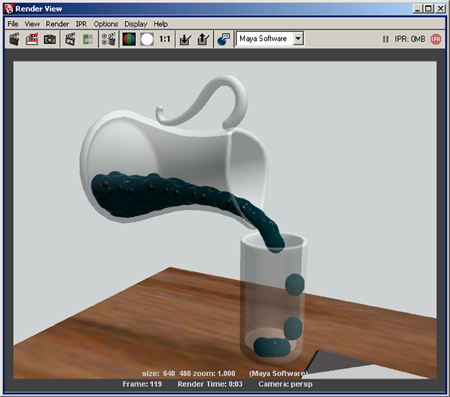
.
The current frame appears as a rendered image in the Render View.
In this lesson you learned how to:
nParticle output meshes can be modified like other polygon meshes.
You can save the current nParticle attribute values to a custom attribute preset. You can then apply the new preset to another nParticle object to quickly create another liquid simulation.
You can adjust the oceanShader Transparency attribute to make the rendered water more opaque or semi-transparent.