Move CVs relative to their curve or surface


How to move CVs along the U, V, and normal directions of their curve or surface.

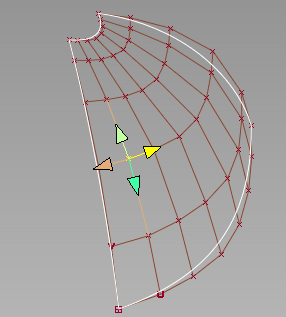
Show CVs on the picked objects

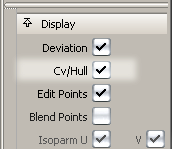
Click the Cv/Hull checkbox in the Display section of the Modeling control panel

or do the following:

  1. Choose ObjectDisplay > Control .
  2. Set Scope to Active and turn on the CVs checkbox.
  3. Click Go.
NoteIf CVs are not displayed, clicking on the object(s) while inside the Move CV tool automatically turns on all CVs and hulls. As soon as you choose a different tool, the CVs and hulls are turned off again.

Move CVs relative to their curve or surface

  1. Choose Control Panel > Move CV .
  2. In CV move section of the control panel, open the left pop-up menu labeled Mode and choose NUV.
  3. Pick the CVs you want to move. To select additional CVs, hold and click them.

  4. Drag a mouse button to move the CVs:
    • Drag the to move along the normal.
    • Drag the to move along the U direction.
    • Drag the to move along the V direction of a surface.

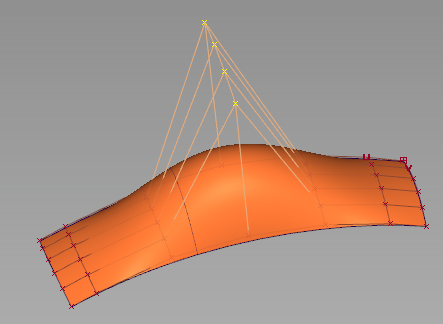
    Moving four CVs along the surface normals.

NoteThe Transform > Modify > Move CV Normal tool in the Palette works in a similar fashion.

Move CVs along their hulls

  1. Choose Control Panel > Move CV.
  2. In CV move section of the control panel, open the left pop-up menu labeled Mode and choose Slide.
  3. Click the CV you want to move. To select additional CVs, hold and click them.

  4. Click the arrow on the hull you want to move the CVs along, then drag to move the CVs.